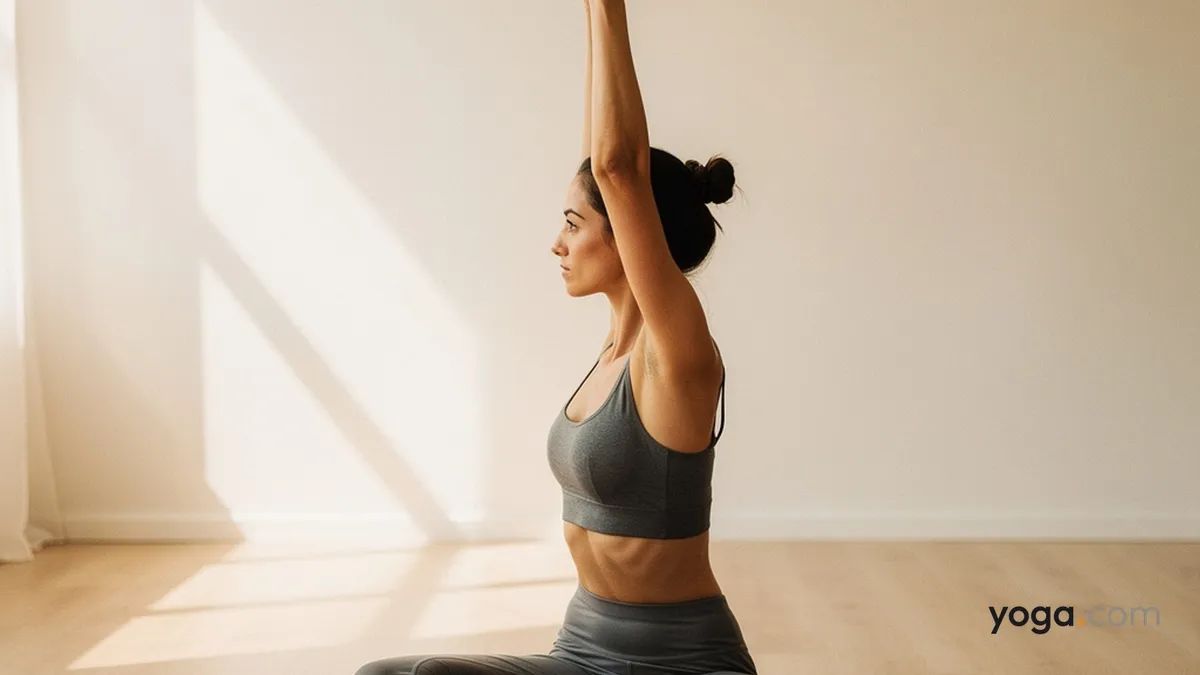
Buddhist Stupa Pose (Stūpāsana, from the Sanskrit stūpa meaning "heap" or "mound" — the dome-shaped monument sacred in Buddhist tradition) is a seated posture in which the body forms a tall, symmetrical pyramid shape with the fingertips touching overhead. It belongs to the family of grounded seated poses and works well as a centering shape early in a floor sequence or as a quiet close to a seated meditation block.
At a Glance
Level: BeginnerType: SeatedTargets: Spine, shoulders, inner thighs and hips (in the base), wristsGood for: Building upright spinal alignment, developing shoulder and arm endurance, practicing steady symmetrical breathHow to Do Buddhist Stupa Pose
Sit in a comfortable cross-legged position — Easy Pose or, if available to you, Lotus Pose — with your sitting bones evenly weighted on the mat. Place a folded blanket under your hips if the pelvis tilts backward.Root through your sitting bones and lengthen your spine upward, drawing the crown of the head toward the ceiling. Relax your shoulders away from your ears and let your chin be roughly parallel to the floor.Bring your palms together in front of your chest in Anjali Mudra. Take one full breath here to settle.On an inhale, raise your joined hands overhead, straightening the elbows fully. Keep the palms pressing together and point the fingertips straight up, so the arms frame the sides of the head and form the apex of the stupa shape.Gaze softly forward or, for a more internalized quality, lower the eyes only toward the tip of the nose — keeping the head level and the chin parallel to the floor. Keep your chin level — avoid jutting it upward as the arms rise.Hold for 5–10 steady breaths. With each inhale, extend a little more through the arms; with each exhale, soften the jaw and let the shoulder blades slide gently down the back.To come out, exhale and lower the hands back to Anjali Mudra at the heart. Pause for one breath, then release the palms to your thighs. Uncross your legs and stretch them forward if needed.Benefits
Lengthens the entire lateral spine and the intercostal muscles along the ribcage.Strengthens the shoulder stabilizers (lower and middle trapezius, serratus anterior) through sustained overhead load.Mobilizes the shoulder girdle into full flexion and slight external rotation.Stretches the wrist flexors when the palms press firmly together overhead.Trains pelvic neutrality and axial elongation in the absence of the legs providing feedback (as they do in standing poses).Encourages diaphragmatic awareness: with the arms raised, you can feel the ribcage expand three-dimensionally with each breath.Common Mistakes and Alignment Cues
Ribs flaring forward as the arms rise. Keep your lower ribs drawing in and down; imagine the front of the torso staying long rather than arching.Elbows bending or arms drifting in front of the ears. Press the palms together firmly and track the arms back so they bracket the sides of the head, not the front of the face.Chin lifting toward the ceiling. Maintain the natural cervical curve — the back of the neck stays long and the gaze stays level.Pelvis rolling back into a posterior tilt. Sit on the front edge of a folded blanket so the pelvis tips slightly forward and the lumbar curve is supported.Holding the breath. The pose asks for stillness, not tension — keep the breath moving and the jaw soft throughout.Modifications and Props
Tight hips: Sit on one or two folded blankets or a yoga block to elevate the pelvis above the knees. This makes it easier to maintain a neutral spine in the base of the pose.Shoulder limitation: If full overhead flexion is uncomfortable, hold a strap between the hands at shoulder width rather than pressing the palms together. This reduces the demand on shoulder mobility while preserving the arm position.Wrist sensitivity: Instead of pressing palms flat together, touch fingertip-to-fingertip and keep a slight dome in the palms, reducing compressive load on the wrist joints.Chair variation: Sit toward the front of a chair seat with both feet flat on the floor, spine away from the backrest. Raise the joined hands overhead in exactly the same way — useful if floor sitting is not accessible.Cautions
Shoulder impingement or rotator cuff injury: Full overhead arm extension may aggravate these conditions. Use the strap modification or keep the arms at a lower angle until the shoulder is ready.Acute neck pain or cervical disc issues: Keep the gaze level and avoid any compression at the back of the neck.Knee pain in cross-legged sitting: Elevate the hips generously with props and consider the chair variation if pain persists.Recent wrist surgery or carpal tunnel symptoms: Use the fingertip variation and avoid forcing the palms flat together overhead.If you're working with an injury or a medical condition, check with a qualified professional before practicing.Related Poses
Bound Angle Pose — a foundational seated hip opener that prepares the base position for this pose.Lotus Pose — a natural progression for the cross-legged base once hip mobility increases.Mountain Pose — teaches the same upright spinal alignment and overhead arm work in a standing context.Corpse Pose — an ideal counter-pose to follow, allowing the body to integrate after sustained active sitting.See this pose in context: A Gentle Yoga Routine for Tired, Low-Energy Days and A 10-Move Chair Yoga Sequence for a Midday Reset.