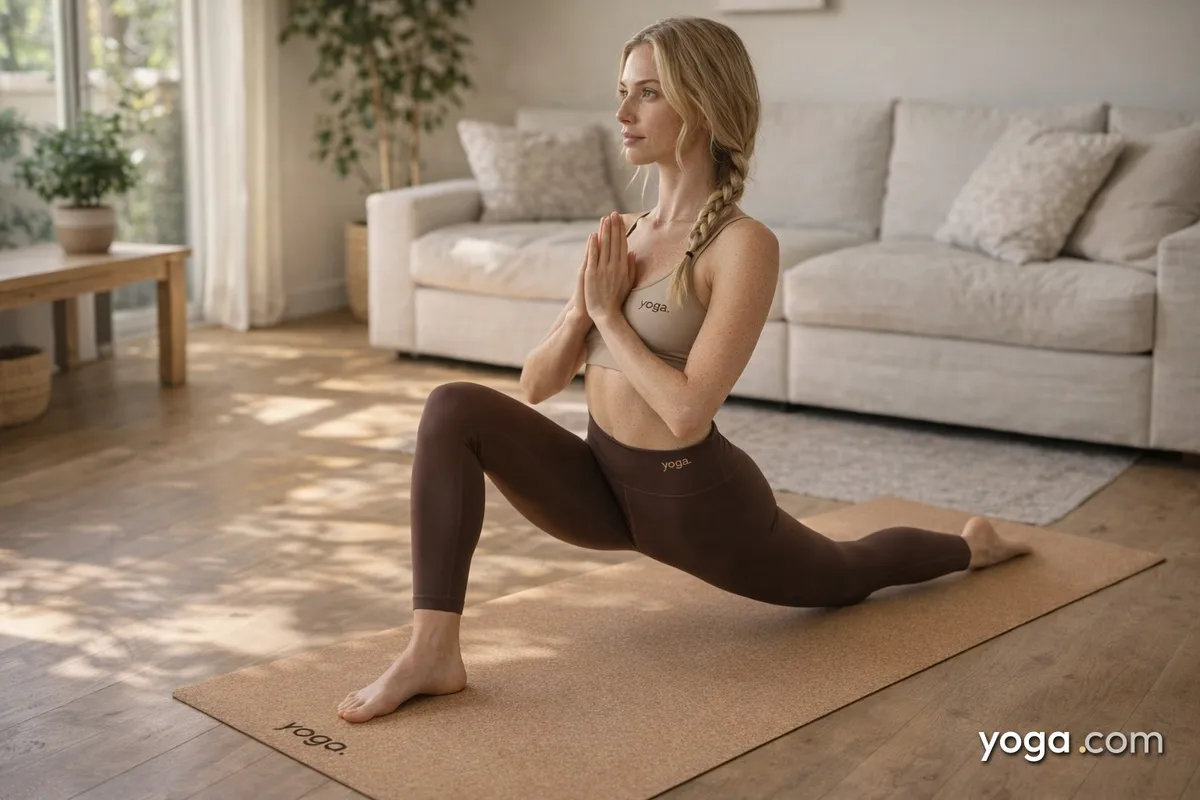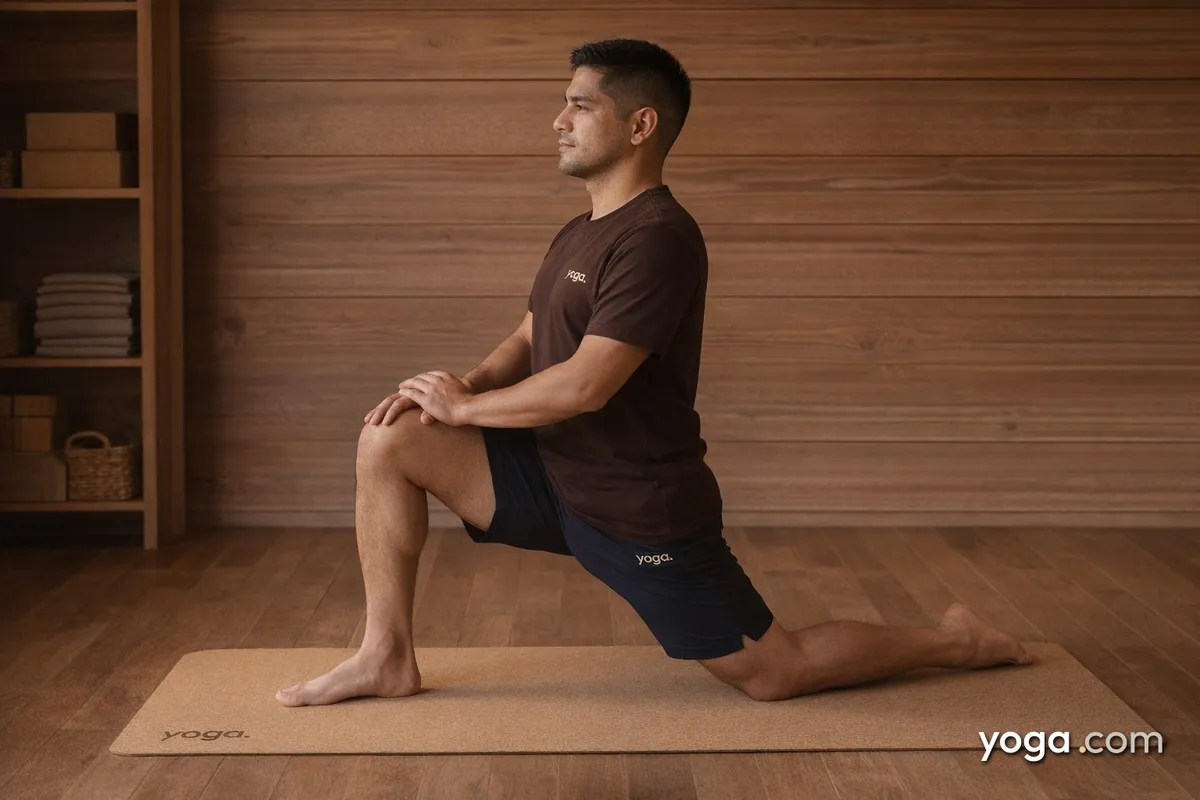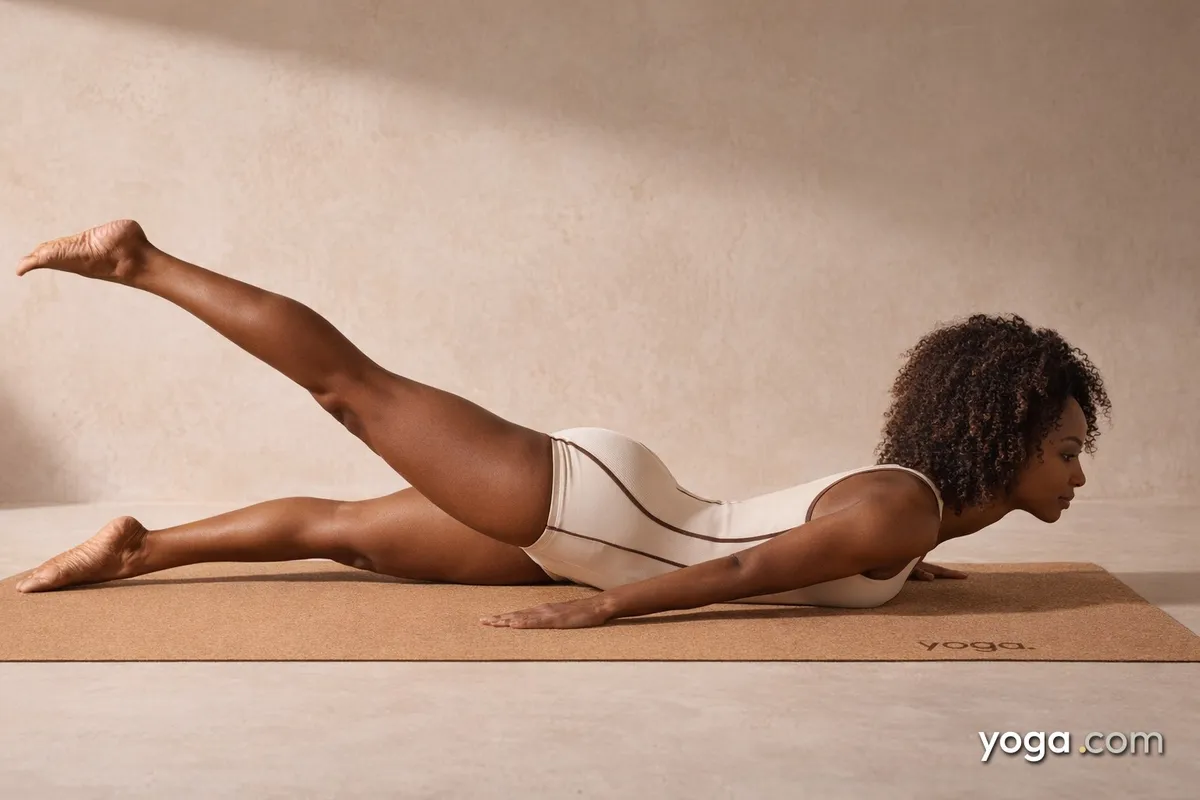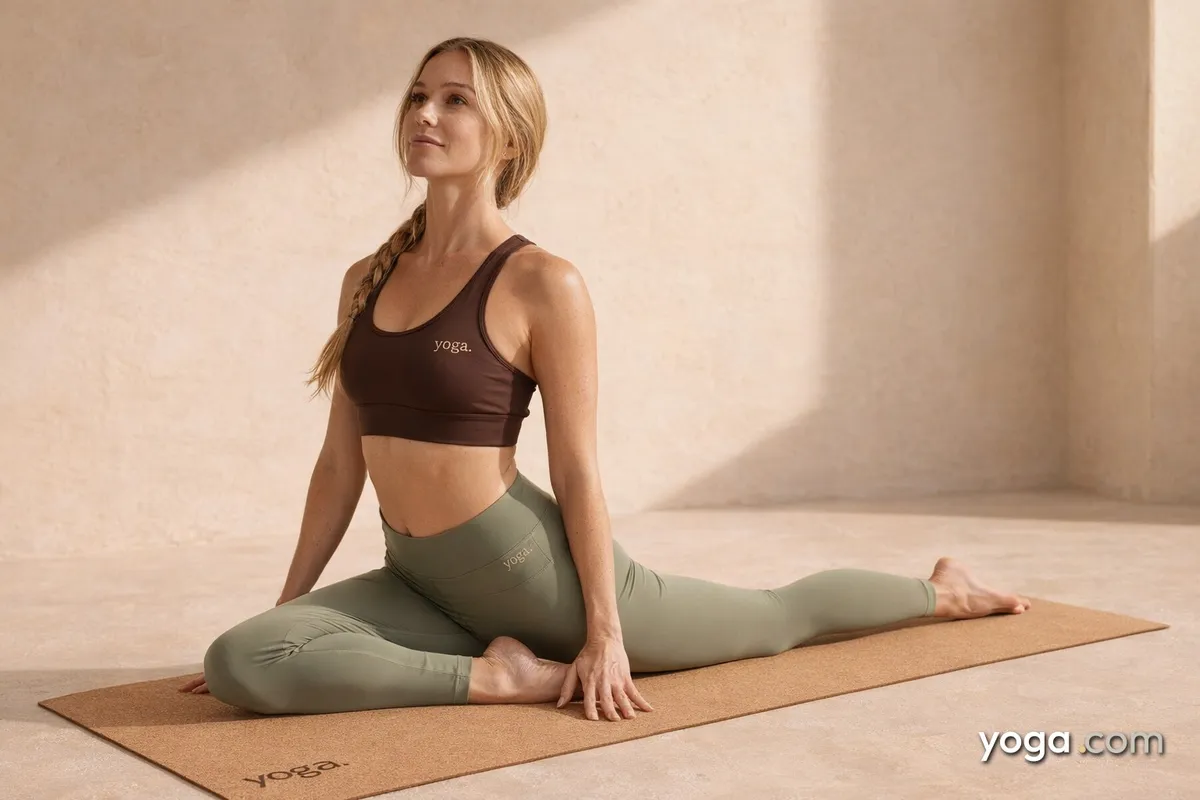
Eka Pāda Rājākapotāsana - one-legged king pigeon pose - is a deep hip opener and backbend that asks your whole body to participate. The front hip releases into external rotation while the back hip extends, and the spine lifts into a graceful arc. It looks dramatic, but the pose is built in layers: settle the foundation first, and the opening follows naturally.
At a Glance
- Level: Intermediate
- Type: Backbend / Hip Opener
- Targets: Hip flexors (front leg side), hip external rotators (front leg side), hip flexors and quadriceps (back leg side), thoracic and lumbar spine extensors, shoulder flexors
- Good for: Building hip mobility, developing spinal extension, improving postural awareness through the chest and shoulders
How to Do Pigeon Pose
- Begin in Downward-Facing Dog. On an exhale, draw your right knee toward your right wrist. Swing your right shin forward so it angles diagonally across your mat - the exact angle depends on your hip range of motion. Your right foot moves toward your left wrist; it does not need to be parallel to the front of the mat.
- Lower your left knee to the mat and slide your left leg back until it is fully extended, toes pointing straight behind you. Press the top of your left foot into the mat. Check that your left hip points straight down toward the floor - resist the urge to let it tip open to the left side.
- Square your hips as much as your range allows. Place your fingertips on the mat alongside your right hip and use that leverage to draw both hip points forward and level. If your right sitting bone lifts far off the mat, slide a folded blanket or block beneath it before continuing.
- On an inhale, press through your fingertips, lengthen your spine, and lift through the crown of your head. Draw your low belly gently in and up to protect your lumbar spine as you begin to introduce the backbend.
- On your next inhale, sweep your arms forward and up overhead, palms facing each other. Continue to extend the spine - think length before depth. Lead with the sternum lifting, not the lower back crunching.
- On an exhale, bend your left knee, reaching your left foot up toward the ceiling. Reach both hands back to catch your left foot or ankle. Draw your foot in toward the back of your head, keeping your left knee pointing straight down toward the mat rather than splaying wide. Your gaze comes down or straight ahead - do not crank the neck back.
- Hold for five to ten steady breaths. Keep pressing your right shin into the mat and your left thigh rooted so the pelvis stays anchored.
- To exit: release your left foot, place your hands on the mat, tuck your left toes, and step back to Downward-Facing Dog. Pause for a breath or two before repeating on the second side.
Benefits
- Hip external rotator length: The front-leg position places the glutes and deep rotators (including piriformis) under a sustained stretch, gradually increasing range of motion in external rotation.
- Hip flexor length: The extended back leg provides a direct stretch along the front of the hip and thigh, counteracting the effects of prolonged sitting.
- Spinal extension strength and mobility: The backbend component actively works the erector spinae and multifidus while mobilizing thoracic and lumbar segments into extension.
- Quadriceps length: Drawing the back foot toward the head deepens the stretch along the front of the back thigh, complementing the hip flexor work.
- Shoulder and chest opening: Reaching the arms overhead and back engages and lengthens the anterior shoulder girdle and pectoral muscles.
Common Mistakes and Alignment Cues
- Mistake: The back hip rolls open to the side. Cue: Actively press the top of your back foot into the mat and rotate your back inner thigh toward the ceiling. Both hip points aim straight down.
- Mistake: Collapsing into the lower back during the backbend. Cue: Engage your low belly before you lift. Length comes first - only move into the arc once you feel the spine has space.
- Mistake: The back knee splays wide when reaching for the foot. Cue: Keep your back knee pointing straight down to the mat throughout. If the knee drifts, ease the foot away until control returns.
- Mistake: Forcing the front shin parallel to the top of the mat too soon. Cue: A diagonal shin is correct for most practitioners. Honor your current range - depth will develop over time.
- Mistake: Gripping or wrenching the neck into extension. Cue: Keep your gaze neutral - forward or slightly down. The backbend happens in the thoracic spine, not the neck.
Modifications and Props
Place a folded blanket, block, or bolster under your right sitting bone if it does not reach the floor - this levels the pelvis and protects the right knee from torque. If the full backbend is not available yet, stay upright on your hands (the sleeping pigeon variation) or fold forward over your front shin with your forehead resting on stacked fists. To work toward catching the back foot, loop a strap around your back ankle and hold the strap with both hands - walk your hands down the strap gradually over successive practice sessions.
Cautions
Approach carefully if you have knee, sacroiliac, or hip discomfort, as the front-leg position places lateral stress on the knee joint. Avoid forcing the back-foot catch if your lumbar spine compresses significantly or if you feel pinching rather than a stretch in the front hip. If you're working with an injury or a medical condition, check with a qualified professional before practicing.
Related Poses
- Upward-Facing Dog Pose - builds the spinal extension and shoulder opening that supports the backbend phase.
- Bow Pose - shares the quad stretch and back-foot grip, making it a useful companion or preparatory pose.
- Camel Pose with Palms Set Against Feet - develops the thoracic extension and front-body opening central to the full expression.
- Downward-Facing Dog Pose - the natural transition pose into and out of Pigeon, and a valuable reset between sides.