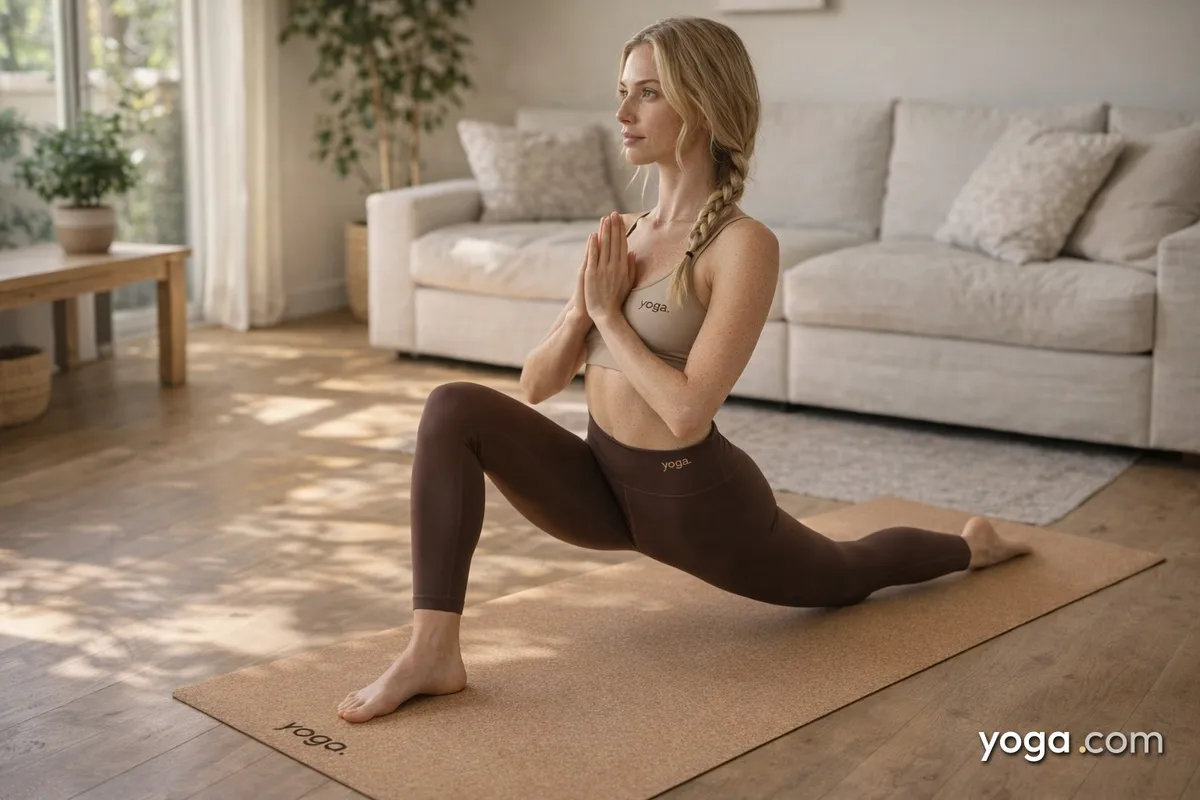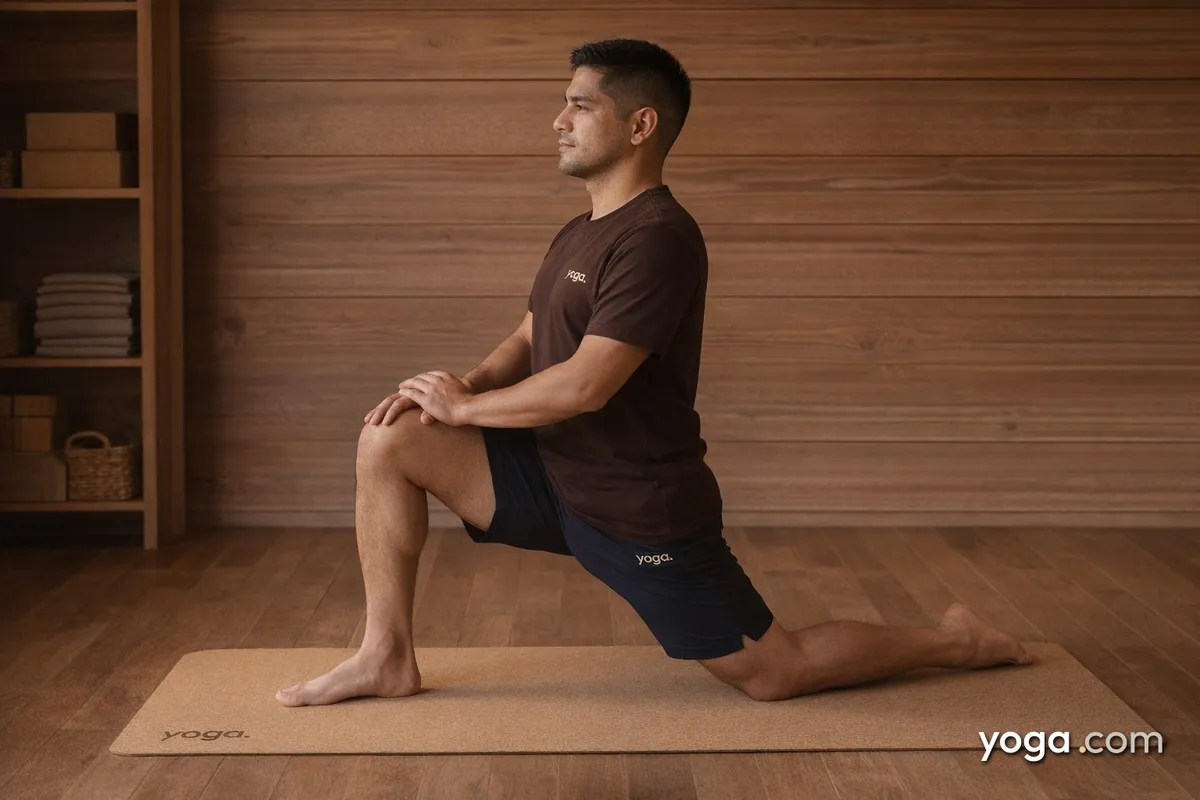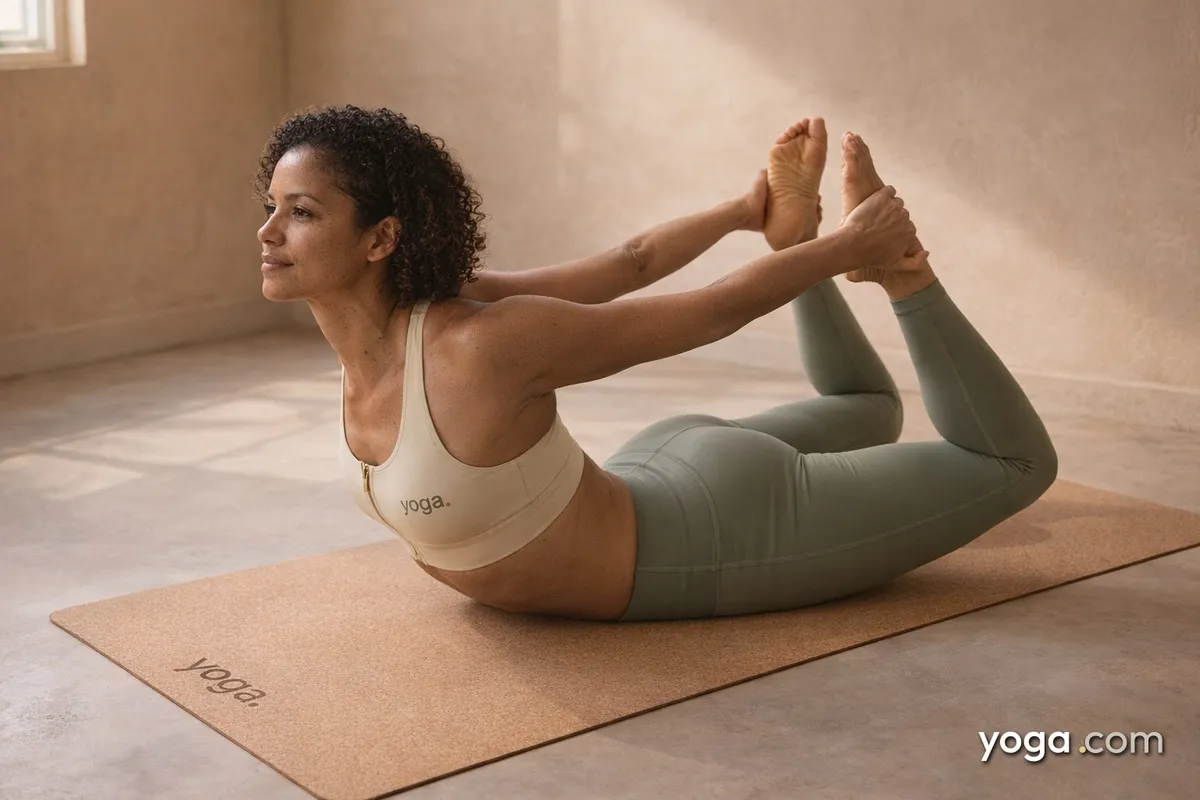
Bow Pose (Dhanurāsana - literally "bow pose," from the Sanskrit dhanu, bow, and āsana, seat or posture) shapes the body into the arc of an archer's bow: the torso and legs form the curved wood while the arms become the taut string. It belongs to the backbend family and typically appears in the middle of a practice, after the spine has been warmed with gentler extensions like Cobra and Upward-Facing Dog.
At a Glance
- Level: Intermediate
- Type: Backbend
- Targets: Spine, hip flexors, quadriceps, shoulders
- Good for: Building spinal extension strength, opening the front body, improving shoulder mobility
How to Do Bow Pose
- Start prone. Lie face-down with your legs hip-width apart and your arms alongside your body, palms facing up. Rest your forehead on the mat and take a full breath to settle.
- Bend your knees. Exhale, then bend both knees so your heels draw toward your sitting bones. Keep your thighs parallel - resist the urge to splay the knees wider than your hips.
- Reach back and take hold. Reach your hands back and grasp the outer edges of your ankles (not the tops of your feet). If your hands don't reach, use a strap looped around both ankles.
- Prepare the foundation. Press your pubic bone gently into the mat, lengthen through the crown of your head, and draw your shoulder blades toward each other. Avoid gripping the trapezius up toward the ears.
- Inhale into the lift. On an inhale, simultaneously kick your feet back and up into your hands while lifting your chest away from the mat. The opposing forces - feet pressing back, arms pulling - create the bow's tension. Your thighs will rise off the floor.
- Find your gaze and breath. Look forward or slightly upward without crunching the back of the neck. Breathe steadily into the sides of the ribcage for three to five full cycles. With each inhale, try to broaden the chest; with each exhale, maintain the lift rather than collapsing.
- Come out with control. On an exhale, slowly release the feet, lower the thighs, then lower the chest and forehead back to the mat.
- Counter and rest. Press back into Child's Pose for several breaths, or lie flat and rock the hips gently side to side to neutralize the lumbar spine.
Benefits
- Strengthens the spinal extensors along the entire length of the back body, from the upper thoracic to the sacrum.
- Stretches the hip flexors and quadriceps, which become shortened from prolonged sitting.
- Expands the anterior chest wall and stretches the pectorals and intercostal muscles.
- Builds active shoulder extension and improves range of motion in the glenohumeral joint.
- Engages and tones the gluteal muscles and hamstrings through the kicking action of the legs.
- Develops coordination between breath and effort, since breathing into a compressed abdomen requires focused respiratory control.
Common Mistakes and Alignment Cues
- Knees splaying wide: Keep your thighs no wider than hip-width throughout. Imagine squeezing a block between your inner thighs to maintain the parallel line.
- Gripping the tops of the feet: Hold the outer ankles instead. Wrapping the toes forces external rotation that compresses the lower back unevenly.
- Crunching the neck: The cervical spine should follow the curve of the thoracic spine, not hinge sharply. Think of lengthening the back of the neck rather than throwing the head back.
- Holding the breath: The natural reaction to abdominal pressure is to brace and stop breathing. Actively direct breath into the upper chest and ribcage, keeping the rhythm smooth.
- Pulling with the arms instead of kicking with the legs: The lift comes primarily from the legs pressing back into the hands. Let the arms be relatively passive - they are the string, not the engine.
Modifications and Props
- Strap around the ankles: If your hands can't reach your feet, loop a strap around both ankles and hold the strap ends. This lets you work the kicking action without straining the shoulders.
- Blanket under the thighs: Placing a folded blanket beneath the fronts of the thighs cushions the hip points and can make the lift more accessible for practitioners with sensitive anterior hip bones.
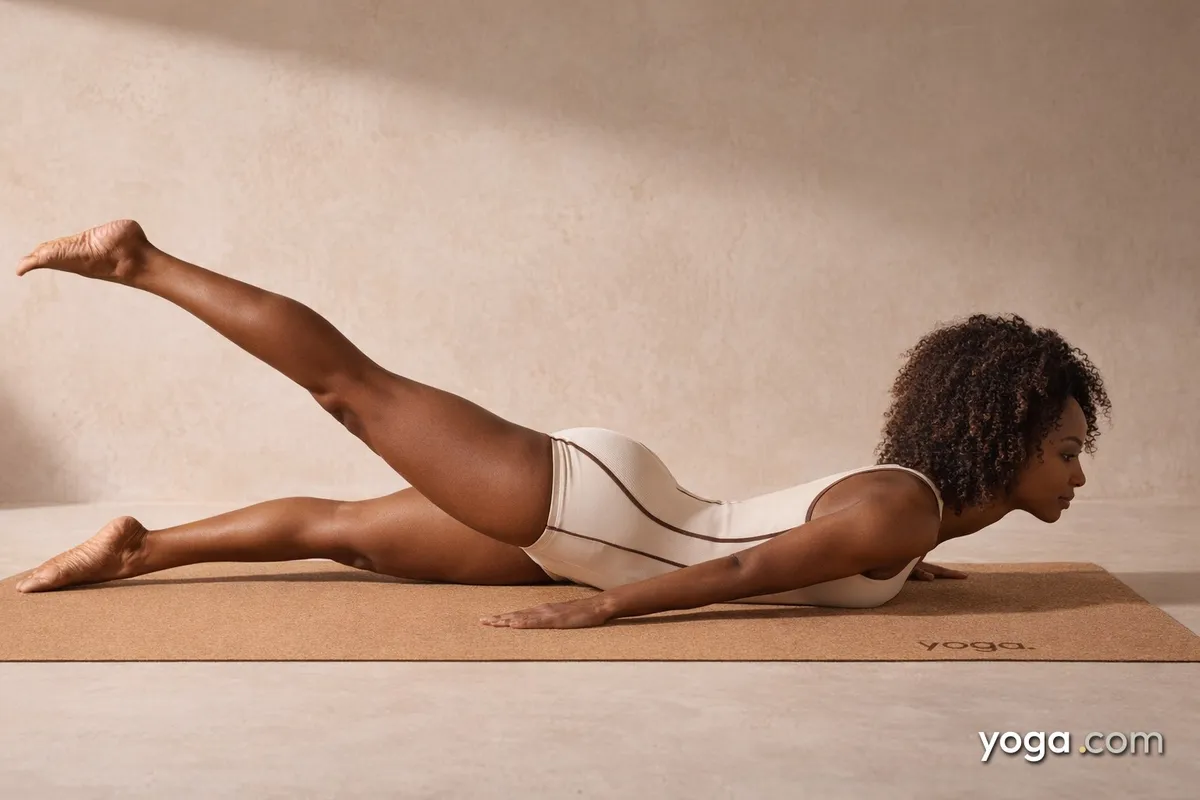
- One side at a time (Half Bow): Extend one arm forward and lift only the opposite leg, keeping the non-working limbs grounded. This is a useful preparatory step if the full pose feels overwhelming.
- Rolled blanket under the abdomen: Tucking a thin roll just below the navel supports the lumbar curve and reduces compression, making the pose more accessible for beginners building toward the full expression.
Cautions
- Neck issues: Avoid deep cervical extension if you have disc problems or acute neck pain; keep the gaze forward and the neck long rather than arching it sharply.
- Lower back sensitivity: Strong lumbar compression is inherent to deep backbends. Reduce the depth of the lift, use a rolled blanket under the abdomen, or practice Half Bow until the back extensors are stronger.
- Pregnancy: Prone backbends that compress the abdomen are not appropriate after the first trimester.
- Recent abdominal or spinal surgery: Allow full clearance and healing before attempting any prone backbend.
If you're working with an injury or a medical condition, check with a qualified professional before practicing.
Related Poses
- Cobra Pose - a foundational backbend that warms the spine before Bow.
- Upward-Facing Dog Pose - builds the chest opening and spinal extension needed here.
- Camel Pose with Palms Set Against Feet - a kneeling backbend of similar depth for cross-training the thoracic extension.
- Upward Bow Pose - the natural progression for practitioners ready for a more intense spinal arc.
Looking for a softer practice? See A Gentle Yoga Routine for Tired, Low-Energy Days. For a seated alternative when floor work isn't available, try A 10-Move Chair Yoga Sequence for a Midday Reset.