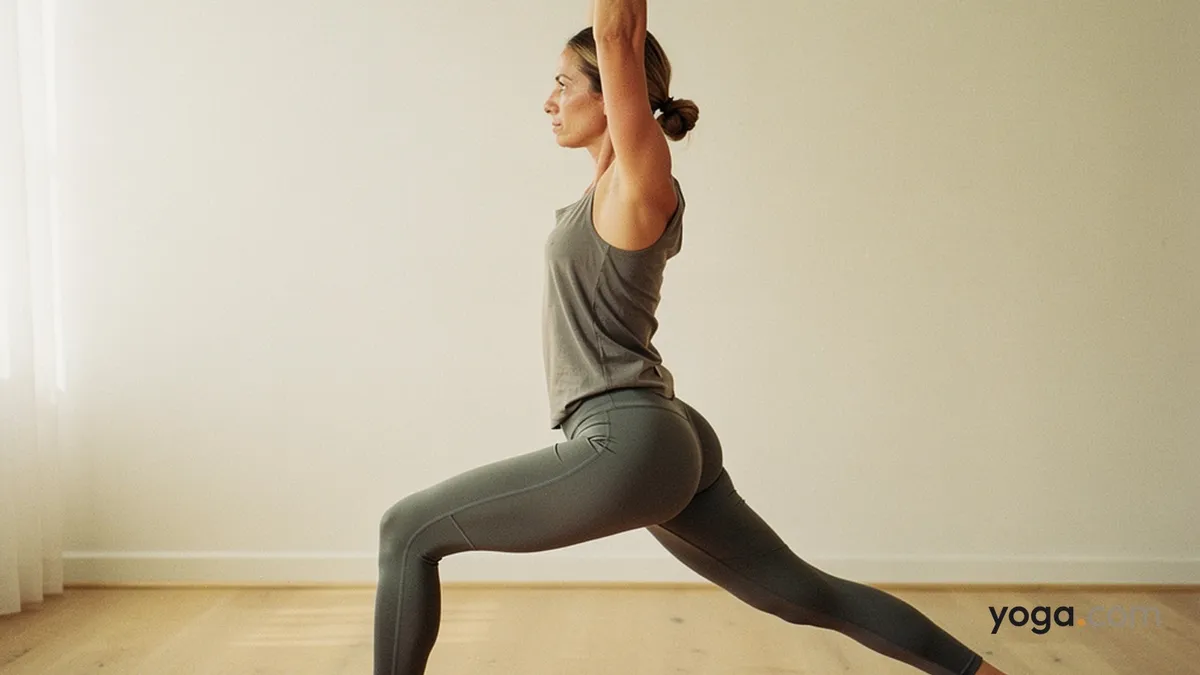
Warrior Pose on Half-Bent Left Leg is a standing strength pose in which the left knee bends to roughly a 90-degree angle while the right leg extends long behind you — the mirror image of the more commonly taught right-leg-forward variation. Its Sanskrit name is Vīrabhadrāsana I (half-bent left leg), named for the fierce warrior Vīrabhadra, a figure from Hindu mythology. Use this variant to balance your practice, develop equal strength and stability on both sides, and prepare for more demanding standing sequences.
At a Glance
Level: BeginnerType: StandingTargets: Left quadriceps, right hip flexors, gluteus maximus, shoulders and upper backGood for: Building lower-body strength, lengthening the front of the rear hip, developing upright thoracic extensionHow to Do Warrior Pose on Half-Bent Left Leg
Start in Mountain Pose. Stand at the top of your mat with feet together, arms at your sides, and weight evenly distributed across both feet.Step your right foot back 3½–4 feet. Turn your right foot out to approximately 45 degrees so the outer edge grounds firmly. Keep your left foot pointing straight toward the front of the mat.Square your hips forward. Draw your right hip forward and your left hip back until both hip points face the front edge of your mat. You may feel a strong stretch across the right hip flexor — that is normal and intentional.Bend your left knee. On an exhale, bend the left knee directly over the left ankle, tracking it in line with your second and third toes. Work toward a 90-degree angle at the left knee, left thigh parallel to the floor, without letting the knee drift inward.Press through the back foot. Root the outer edge of your right foot into the mat. Straighten the right leg firmly without locking or hyperextending the knee.Raise your arms. On an inhale, sweep both arms overhead, palms facing each other or pressing together. Draw your shoulder blades down your back, lift your chest, and lengthen the sides of your waist. Gaze straight ahead or, if your neck is comfortable, slightly upward toward your thumbs.Hold for 3–5 breaths. Keep the left knee stacked over the ankle, the torso upright, and both sides of the waist long.Come out carefully. On an inhale, straighten the left leg, lower your arms to your sides, and step your right foot forward to meet the left. Return to Mountain Pose and pause for a breath before switching sides.Benefits
Strengthens the quadriceps, hamstrings, and gluteal muscles of the left (front) legStretches the hip flexors and psoas of the right (back) legBuilds stability in the left knee and ankle under loadDevelops muscular endurance in the shoulders, upper back, and arms in an overhead positionPromotes equal strength and coordination between the left and right sides of the bodyEncourages thoracic extension and upright posture by actively lengthening the spine against gravityCommon Mistakes and Alignment Cues
Knee collapsing inward: Press the left knee firmly toward the little-toe side of the foot so it stays in line with toes two and three.Front heel lifting: Ground the entire left foot — heel, ball, all four corners — before deepening the bend.Hips rotating open to the left: Actively draw the left hip back and the right hip forward; place your hands briefly on your hip bones to feel them level out.Shoulders hiking toward the ears: Broaden across the collarbones and slide your shoulder blades toward your tailbone as you lift your arms.Torso leaning over the front thigh: Stack your ribcage directly over your pelvis; think about lengthening the crown of the head toward the ceiling rather than the wall in front of you.Modifications and Props
Shorter stance: If squaring the hips feels impossible, step your right foot back a shorter distance. Full hip alignment matters more than a deep lunge.Hands on hips: Keep your hands on your hips instead of raising your arms if your shoulders are tight or if you need to focus entirely on lower-body alignment first.Wall support: Stand close to a wall and lightly touch your fingertips to it for balance as you bend the left knee.Block under the back heel: Place a yoga block, folded blanket, or rolled mat under the right heel to ease tension in the right calf and Achilles tendon and make hip squaring more accessible.Cautions
Knee sensitivity: Avoid bending the left knee past the ankle or letting it rotate inward; either position places uneven stress on the joint. Work at a shallower angle if you feel sharp sensation in the knee.Hip or groin tightness: A tight right hip flexor may pull the lower back into a strong arch. Engage your core gently and reduce the depth of the lunge before adding the arm raise.Shoulder or neck issues: Keep your arms at shoulder height or your hands on your hips rather than overhead. Look straight ahead rather than upward if upward gaze creates discomfort in the neck.Balance challenges: Use a wall or a chair alongside you until you feel confident holding the pose independently.If you're working with an injury or a medical condition, check with a qualified professional before practicing.
Related Poses
Mountain Pose — the natural starting and finishing point for this poseMountain Pose with Upward Stretch — prepares the shoulders and side body for the overhead arm positionWarrior Pose with Right Leg Bent — the opposite-side variation; practice both to develop symmetryChair Pose — builds quadriceps and gluteal strength in a symmetrical stance, reinforcing the same muscles used hereFind this pose in context: A Gentle Yoga Routine for Tired, Low-Energy Days and A 10-Move Chair Yoga Sequence for a Midday Reset.