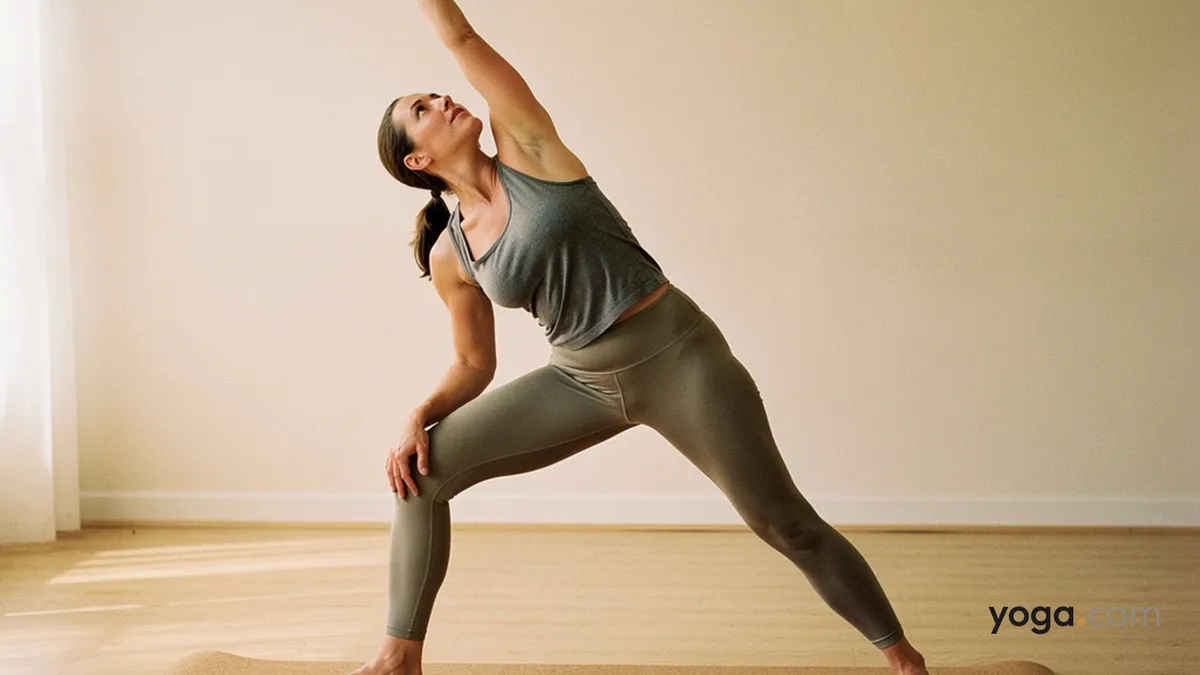
Extended Right Side Angle Pose (Utthita Pārśvakoṇāsana (right side) — literally "extended lateral angle pose") is a wide-stance standing posture that creates one long diagonal line from the outer edge of your left foot to the fingertips of your raised left arm. It belongs to the foundational layer of most standing-pose sequences and builds the hip and leg strength that carries you into more demanding warriors and balances.
At a Glance
Level: BeginnerType: StandingTargets: Hip flexors and adductors, quadriceps (right leg), lateral torso, shouldersGood for: Building lower-body strength, lengthening the side body, improving hip mobilityHow to Do Extended Right Side Angle Pose
Start in a wide stance. From the center of your mat, step your feet about one leg-length apart (roughly 3.5–4 feet). Turn your right foot out 90 degrees so the toes point toward the short edge of the mat; pivot your left foot in about 15 degrees. Align the right heel with the left arch.Bend your right knee. On an exhale, bend the right knee until the shin is as close to perpendicular to the floor as possible — ideally right knee stacked over the right ankle. Keep the left leg straight and press firmly through the outer edge of the left foot.Place the right forearm or hand. Bring your right forearm to rest on your right thigh, or place your right fingertips or a block on the floor (or a block) just outside the right foot. Avoid collapsing your torso weight onto the thigh — the arm is a shelf, not a crutch.Extend the left arm overhead. On an inhale, sweep your left arm up and over your ear, palm facing the floor, so it continues the line of your left leg. Let the left ribs lift away from the hip.Open the chest and set your gaze. Rotate your chest upward toward the ceiling as much as your shoulder allows. Gaze can go straight ahead (neutral neck), up toward the left bicep, or down toward the floor — choose the option that keeps the back of your neck long.Hold for 3–5 breaths. Each inhale, lengthen from the outer left heel to the left fingertips. Each exhale, draw the right knee outward toward the right pinky toe so the knee does not cave inward.Come out with control. Press through both feet, inhale, and straighten the right leg as you sweep the left arm back to center. Pause with feet parallel, then switch sides or return to Mountain Pose.Benefits
Strengthens the quadriceps, gluteus medius, and adductors of the bent right leg.Stretches the hip flexors and inner groin of the extended left leg.Lengthens the obliques and intercostal muscles along the left side of the torso.Builds stability in the right ankle and knee under load.Improves thoracic rotation by opening the chest away from the front thigh.Develops endurance in the postural muscles of the lower back and hips.Common Mistakes and Alignment Cues
Knee drifting inward. If the right knee rolls toward the midline, actively press it in the direction of the right little toe to restore the knee-over-ankle track.Dumping weight onto the front forearm. The arm rests lightly on the thigh; create enough engagement in the right side body that you could lift the forearm an inch off the leg at any moment.Chest collapsing toward the floor. Think of rotating the top shoulder directly over the bottom shoulder rather than just leaning forward. A gentle cue: "stack your shoulders like a book on a shelf."Back heel lifting. Ground the outer edge of the left foot firmly. If the heel floats, widen your stance slightly or reduce the depth of the front-knee bend.Neck crunching upward. If gazing up strains the neck, look straight forward instead. Keep a fist's distance of space between your chin and chest.Modifications and Props
Block under the right hand. Place a block (any height) just inside or outside the right foot so your hand reaches the floor without the torso collapsing. This keeps the chest open and the spine long.Forearm to thigh. Resting the right forearm across the right thigh is the most accessible option and still delivers full side-body lengthening — use it while you build hip and leg strength.Wall for the back body. Practicing with your back body close to a wall helps you feel whether the hips, back heel, and shoulder blade are in the same plane, which is helpful feedback early in your practice.Reduced stance width. A shorter stance decreases the demand on hip flexibility and makes it easier to keep the back heel grounded. Gradually increase the distance as strength and mobility develop.Cautions
Knee discomfort. If you feel sharp or pinching sensation in the right knee, reduce the depth of your bend or lessen the degree of hip-flexion until the knee tracks cleanly over the ankle.Neck issues. Avoid the upward gaze if you have cervical spine concerns; look straight forward or down instead.Shoulder or rotator-cuff injury. If raising the top arm overhead is uncomfortable, rest that hand on your hip and focus on the torso rotation.Low back sensitivity. Engage the lower abdominals throughout to avoid over-arching the lumbar spine into the side bend.If you're working with an injury or a medical condition, check with a qualified professional before practicing.
Related Poses
Warrior Pose with Right Leg Forward, Left Leg Straight — shares the same foot stance and right-knee bend, making it a natural preparation.Right Triangle Pose — the front leg straightens, making it both a counter-pose and a progression that emphasizes hamstring length.Warrior Pose with Right Leg Bent — same bent-leg foundation with an upright torso; practice it before Side Angle to build quad endurance.Mountain Pose — the grounding starting point and resting pose between standing postures.See how this pose fits into a full practice: A Gentle Yoga Routine for Tired, Low-Energy Days or try the accessible variation featured in A 10-Move Chair Yoga Sequence for a Midday Reset.