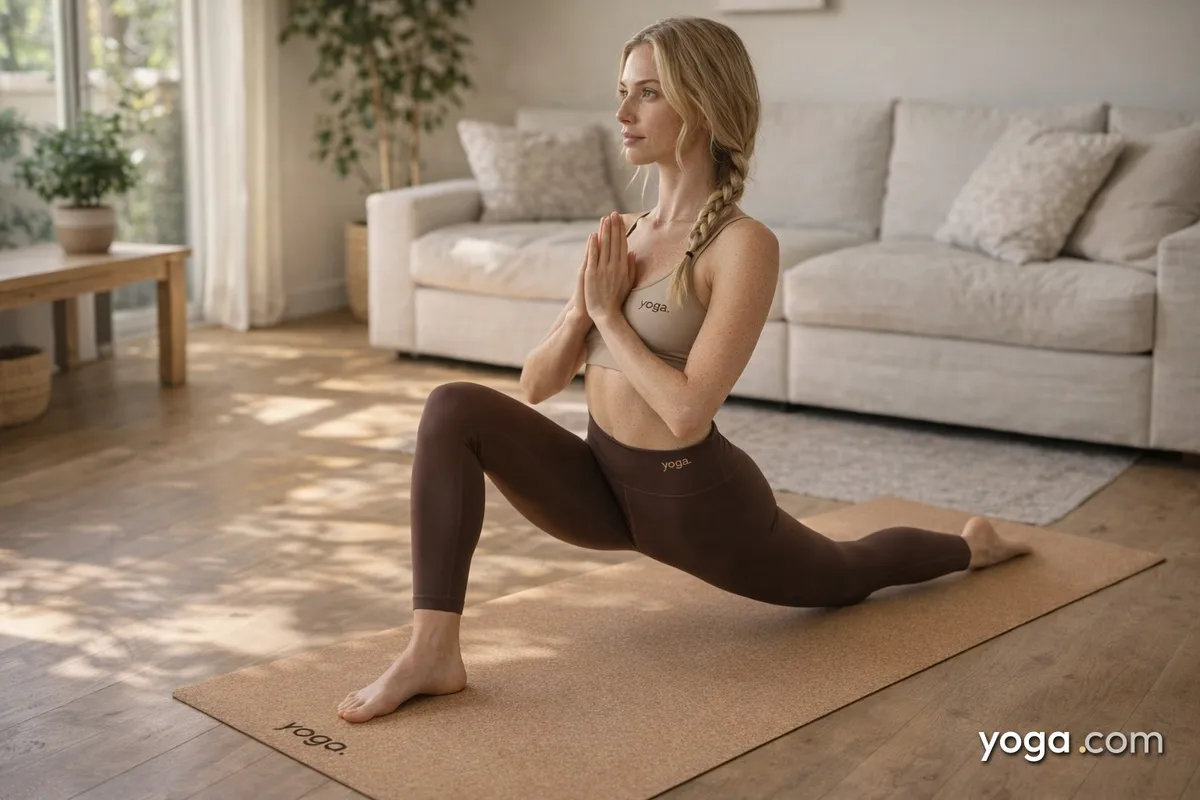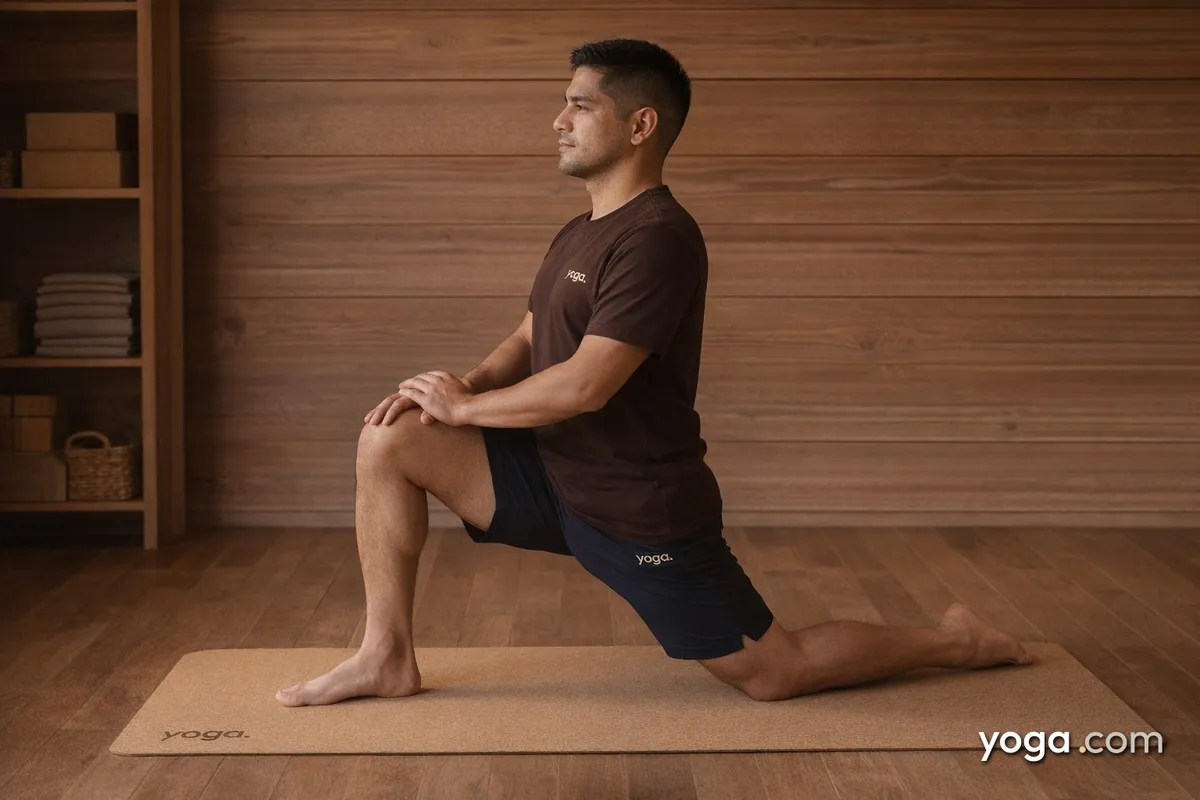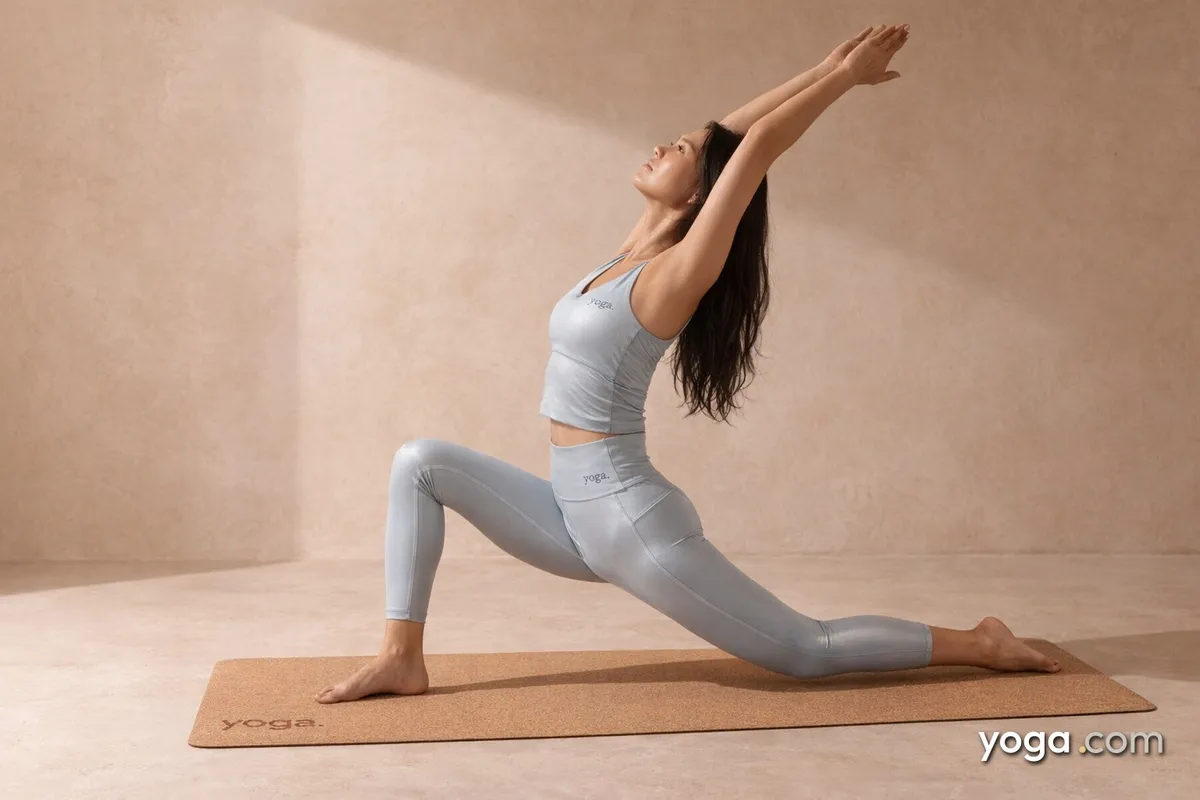
Low Lunge with Upward Stretch (Añjaneyāsana (right leg forward)) is a kneeling lunge that places the right foot forward while the left knee rests on the mat, arms sweeping overhead to create a full-body lengthening from the back knee to the fingertips. The Sanskrit name honors Anjaneya, another name for the deity Hanuman, and translates roughly as "salute to Anjaneya." This pose appears frequently as a warm-up, a sun salutation variation, and a standing-sequence preparation.
At a Glance
- Level: Beginner
- Type: Kneeling
- Targets: Hip flexors (left), quadriceps (left), chest and shoulders, thoracic spine
- Good for: Lengthening the front of the left hip, building lower-body stability, opening the chest and upper body
How to Do Low Lunge with Upward Stretch (Right Leg Forward)
- Start in Table Pose. Come onto all fours with wrists under shoulders and knees under hips. Spread your fingers and press evenly through your palms.
- Step the right foot forward. Bring the right foot between your hands so the right knee stacks directly over the right ankle. The toes point forward.
- Lower the left knee. Slide the left knee back until you feel a comfortable stretch along the left front thigh and hip. Place a folded blanket under the left knee if the surface is hard.
- Lift the torso upright. Press through the right foot and engage your left glute lightly to bring your torso vertical. Check that your right shin stays roughly perpendicular to the floor.
- Sweep the arms overhead. Inhale and raise both arms alongside your ears, palms facing each other or turning inward. Draw the lower ribs in so the lower back stays long rather than compressed.
- Find your gaze. Look straight ahead or, if the neck is comfortable, lift your gaze slightly upward toward the hands. Keep the chin neutral - do not drop the head back sharply.
- Hold for 5 breaths. With each inhale, lengthen the spine and reach through the fingertips. With each exhale, gently draw the navel in and soften the shoulders away from the ears.
- Come out carefully. Lower the hands to the mat on either side of the right foot, then step the right foot back to Table Pose. Pause for a breath before switching sides.
Benefits
- Stretches the left hip flexors and the front of the left quadriceps.
- Strengthens the right quadriceps, glutes, and the stabilizing muscles of the right hip.
- Expands the chest and stretches the intercostal muscles as the arms raise overhead.
- Builds shoulder stability and mobility in an overhead position.
- Engages and lengthens the abdominal wall, supporting spinal alignment.
- Develops proprioceptive awareness and balance in a low, stable stance.
Common Mistakes and Alignment Cues
- Right knee drifting past the ankle. Check that the right shin is vertical. If the knee has crept forward, slide the right foot farther ahead.
- Collapsing into the lower back. When the arms lift, many students arch sharply through the lumbar spine. Draw the front ribs toward each other and engage the core before raising the arms.
- Left hip dropping to one side. Keep the left hip square to the front of the mat by pressing the top of the left foot down and engaging the left inner thigh.
- Shoulders climbing toward the ears. Actively slide the shoulder blades down the back as the arms reach up, creating space in the neck.
- Forgetting the back foot. Press the top of the left foot into the mat - this grounds the pose and protects the left knee from rolling inward.
Modifications and Props
- Blanket or knee pad: Fold a blanket under the left knee to cushion the joint on hard floors.
- Hands on the right thigh: If raising the arms causes lower-back compression or shoulder discomfort, rest both hands on the right thigh and focus on lifting the chest instead.
- Fingertips to blocks: Place two blocks on either side of the right foot at the start. This extra height makes it easier to step forward with control and find an upright torso before lifting the arms.
- Wall for balance: Practice near a wall and lightly touch the fingertips to the wall overhead if balance is unstable when the arms rise.
Cautions
- Knee discomfort: If either knee feels pain (not just sensation), lower the height of the lunge or add padding. Avoid forcing the back knee flat if it protests.
- Hip or groin strain: Keep the lunge depth modest. A shorter stance reduces strain on the inner groin and hip flexor attachments.
- Shoulder or neck issues: Keep the arms at a lower angle (hands on heart, or arms at 45°) if raising them fully overhead causes pain or pinching.
- Recent ankle injury: The front ankle bears significant load; move slowly and avoid end-range dorsiflexion if the ankle is recovering.
If you're working with an injury or a medical condition, check with a qualified professional before practicing.
Related Poses
- Table Pose - the starting and finishing position for stepping in and out of the lunge.
- Downward-Facing Dog Pose - a natural transition pose that precedes and follows low lunge in most flows.
- Upward-Facing Dog Pose - a progression that deepens the hip-flexor stretch and chest opening from a prone position.
- Bridge Pose - a complementary counter-pose that strengthens the glutes and extends the hip flexors from a supine position.
Put this pose to work in a full sequence: A Gentle Yoga Routine for Tired, Low-Energy Days or refresh your midday with A 10-Move Chair Yoga Sequence for a Midday Reset.