Śīrṣāsana Pūrva-abhyāsa I — headstand preparation — gives you the foundational architecture of a full headstand without the demand of balancing inverted. You build a stable tripod base, learn how the crown of the head bears weight with a neutral cervical spine, and train the shoulder girdle to lift rather than collapse. Done consistently, this preparatory form makes the full posture both safer and more accessible.
At a Glance
Level: BeginnerType: InversionTargets: Cervical and thoracic stabilizers, trapezius, serratus anterior, deep neck flexors, forearm flexorsGood for: Building shoulder-girdle strength, learning neutral-neck loading, developing inversion confidenceHow to Do Headstand Preparation Pose I
Getting In
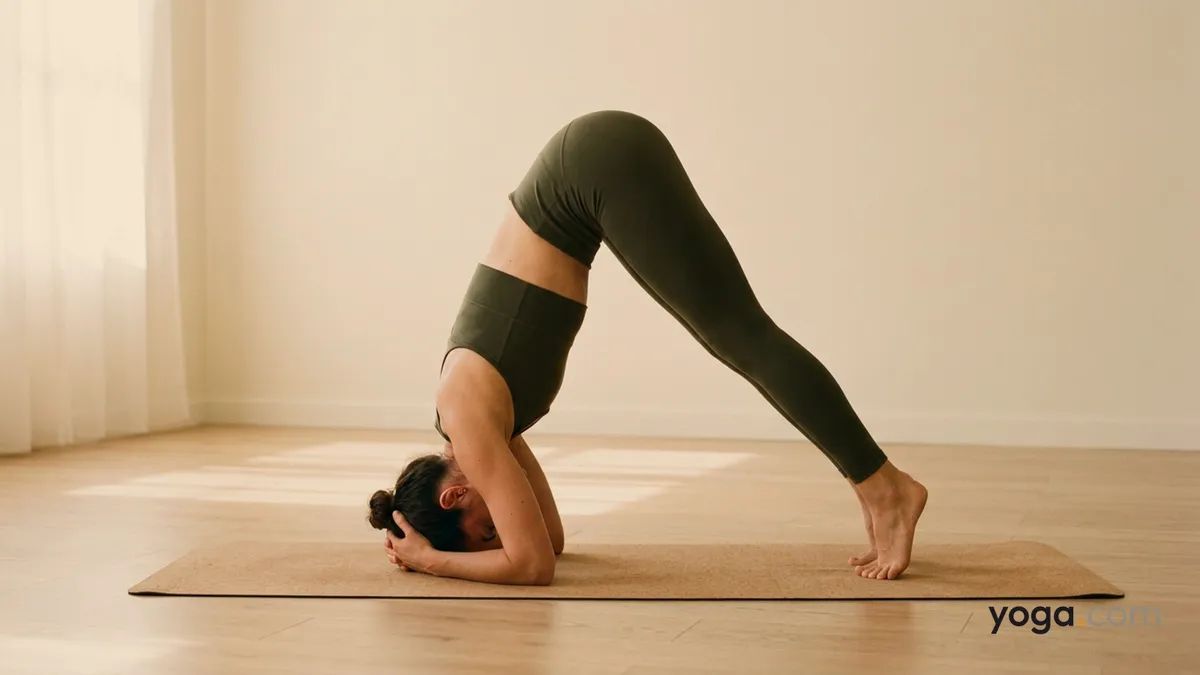
Place a folded blanket or firm mat against the wall. Kneel facing the wall with your knees about a hand-width from the baseboard so your hips can rise and rest against the wall as you come up.Interlace your fingers and set your forearms on the blanket, elbows shoulder-width apart. Cup the back of your head in your palms — the little-finger edges of both hands cradle the skull.Place the crown of your head on the blanket inside the cup of your hands. The crown is the highest point of the skull; tuck your chin slightly so the back of the neck lengthens rather than crunches. Keep this relationship fixed throughout.Press firmly through your forearms and the outer edges of your wrists so your shoulders draw away from your ears. Feel the shoulder blades widen across your back — this is the active lift that protects the neck.Curl your toes under, straighten your knees, and walk your feet toward your face until your hips stack above your shoulders. Your torso will be roughly vertical. Pause here and confirm the neck is still neutral — neither jutting forward nor hyperextending.On an exhale, bend one knee and draw that thigh toward your chest, then bring the other knee in to meet it. Both shins are now vertical, knees stacked over hips. Your lower back lightly contacts or hovers near the wall; let the wall support your hips without dumping all your weight into it.Hold for five to ten steady breaths. Keep pressing the floor away with your forearms; the neck stays neutral and receives only mild load — the arms and shoulders bear the majority of the work.Coming Out
Lower one foot at a time back to the floor with control, maintaining the forearm press the entire way down.Rest in Child's Pose for at least five breaths before lifting your head, allowing blood pressure to re-equalize.Benefits
Strengthens the serratus anterior and lower trapezius, improving scapular stability for overhead and inverted loading.Trains the deep cervical flexors to maintain a neutral spine position under mild axial compression.Develops proprioceptive awareness of the shoulder girdle in an inverted orientation.Builds forearm and wrist extensor endurance needed for sustained inverted postures.Familiarizes the vestibular system with partial inversion in a controlled, supported context.Common Mistakes and Alignment Cues
Mistake: Elbows wider than shoulders. Cue: Before you place your head down, press the outer elbows inward until they are directly under the shoulder joints — measure with a strap if needed.Mistake: Shoulders collapsing toward the ears. Cue: Actively push the floor away so your shoulder blades slide down and spread wide; your head should feel lighter, not heavier, as you do this.Mistake: Neck hyperextending or jutting forward. Cue: Lengthen the back of the skull away from the shoulders; the neck stays long and neutral, receiving only mild load while the arms do the real work.Mistake: Hips drifting away from the wall. Cue: Walk your feet closer before you lift your knees so the hips stay stacked over shoulders and can settle against the wall for support.Mistake: Holding the breath. Cue: Soften your jaw and exhale fully; steady breathing confirms your effort level is appropriate for where you are in the pose.Modifications and Props
If your elbows slide outward on a smooth floor, loop a strap around your upper arms just above the elbow crease, snugging them to shoulder-width before you begin. If keeping both knees lifted feels unstable, practice step six with just one knee drawn in while the other foot stays on the floor, gradually building the strength to bring both up. A partner can stand beside you and place both hands on your hips to guide them over your shoulders; they should never pull or push suddenly.
Cautions
Avoid this pose if you have unmanaged high blood pressure, glaucoma, a detached retina, or acute neck injury. Skip it during menstruation if inversions feel uncomfortable for you. Do not practice when fatigued to the point where you cannot maintain active shoulder engagement — passive hanging onto the neck is the primary risk in this family of poses. If you experience tingling in the arms, pressure behind the eyes, or dizziness, come down immediately and rest. If you're working with an injury or a medical condition, check with a qualified professional before practicing.
Related Poses
Downward-Facing Dog PoseSupported HeadstandCat PoseEar Pressure Pose