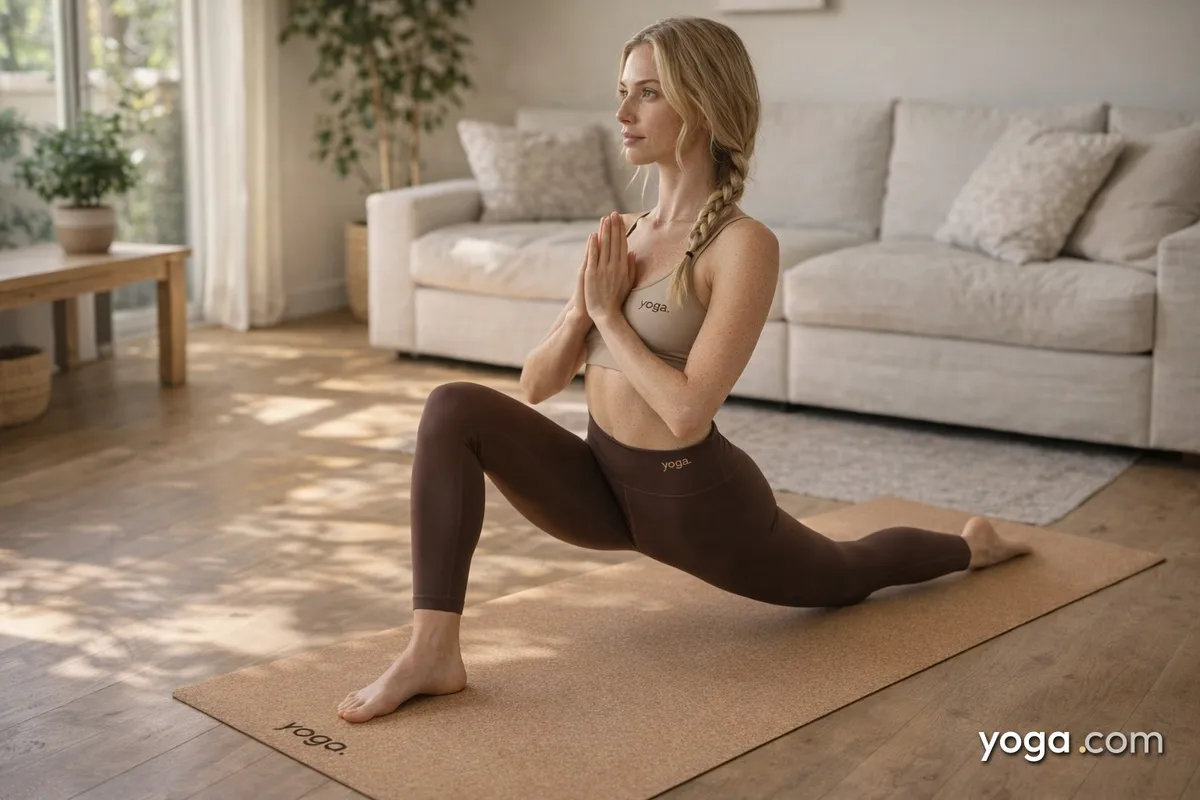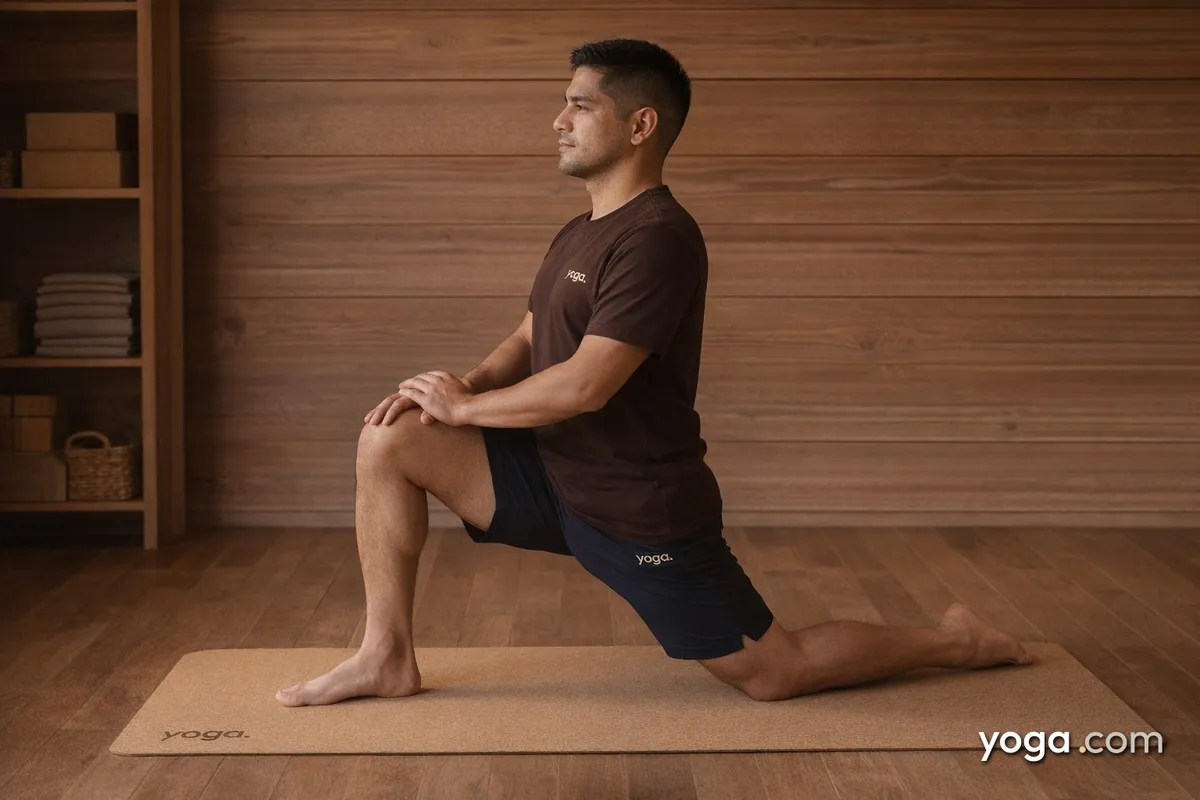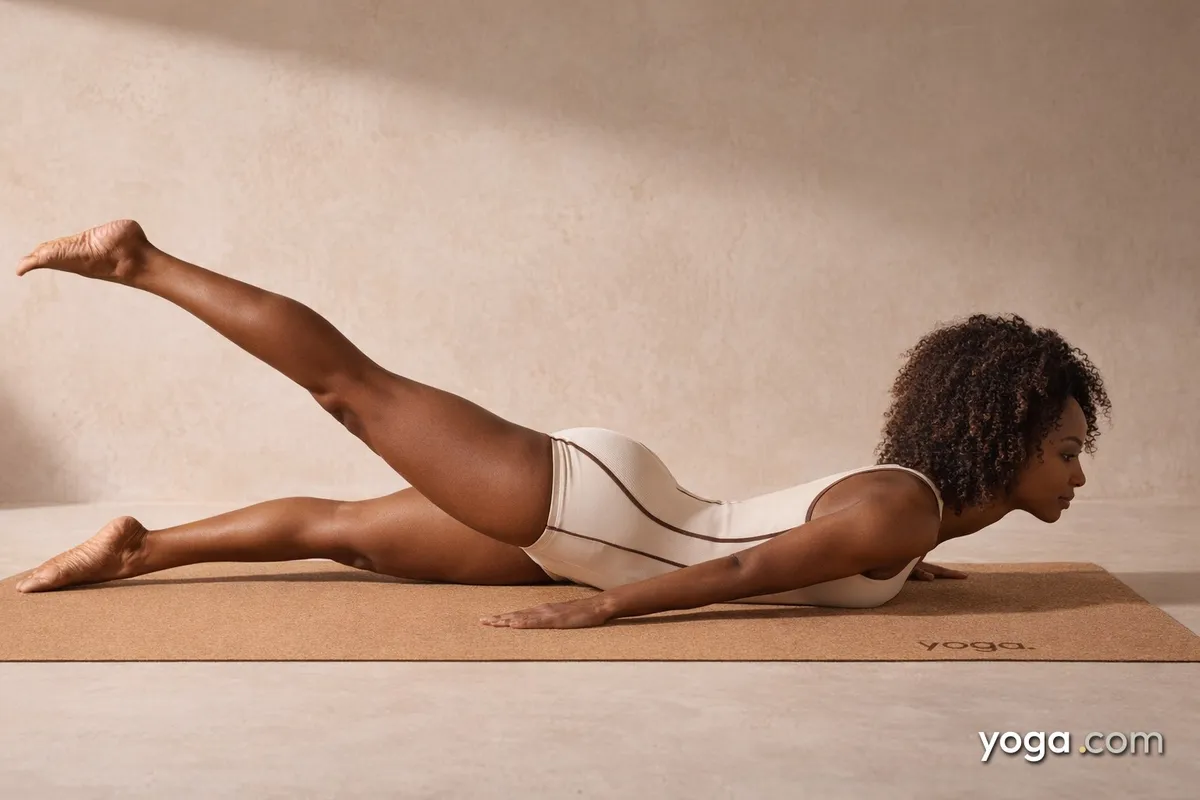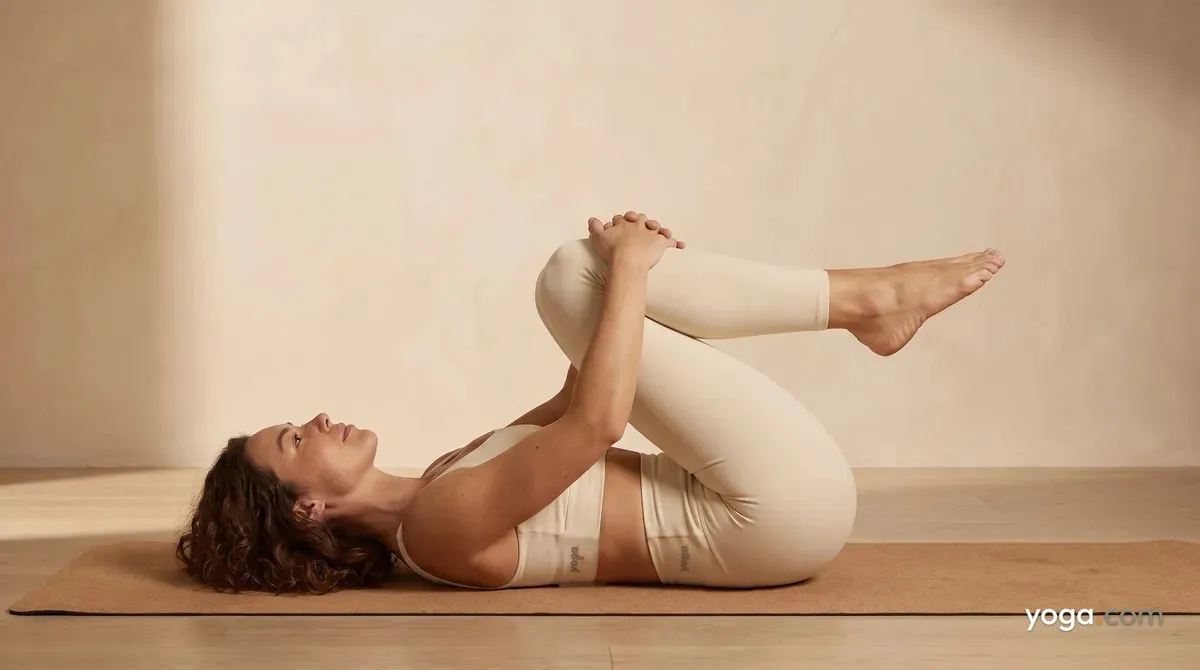
Knee Press Both Legs is a gentle supine pose in which you draw both knees simultaneously into the chest and hold them there with your hands. Its Sanskrit name, Apānāsana (both legs), translates roughly as "downward-force pose" - apāna referring to the downward-moving vital energy said to govern the lower abdomen and pelvis. Accessible and unhurried, it typically appears at the opening or close of a practice as a way to settle the spine and warm the hip flexors before or after more demanding work.
At a Glance
- Level: Beginner
- Type: Supine
- Targets: Lower back, hip flexors, glutes, sacrum
- Good for: Releasing tension across the lumbar spine, mobilizing the sacroiliac joint, calming the nervous system before or after active sequences
How to Do Knee Press Both Legs
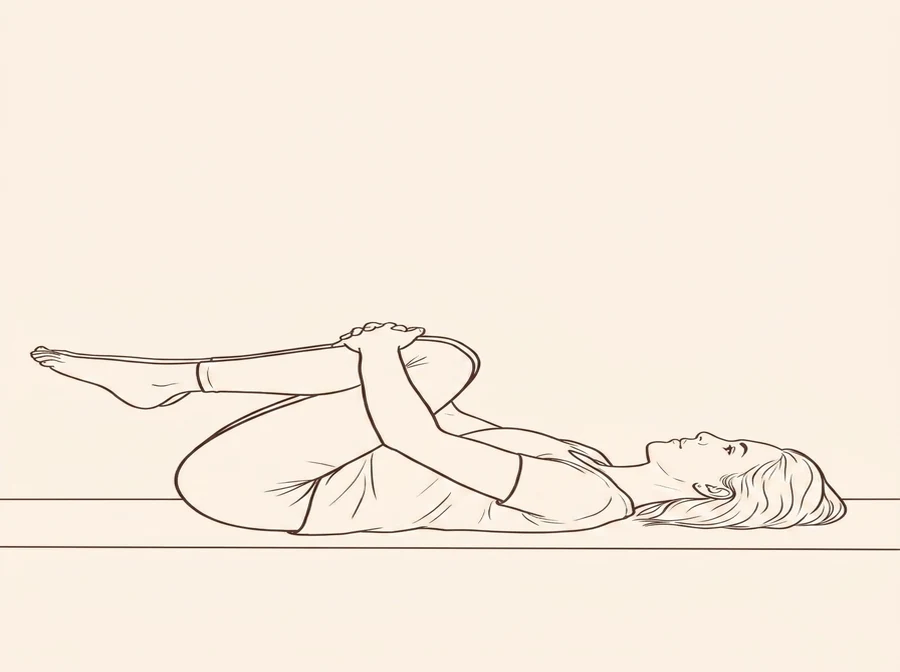
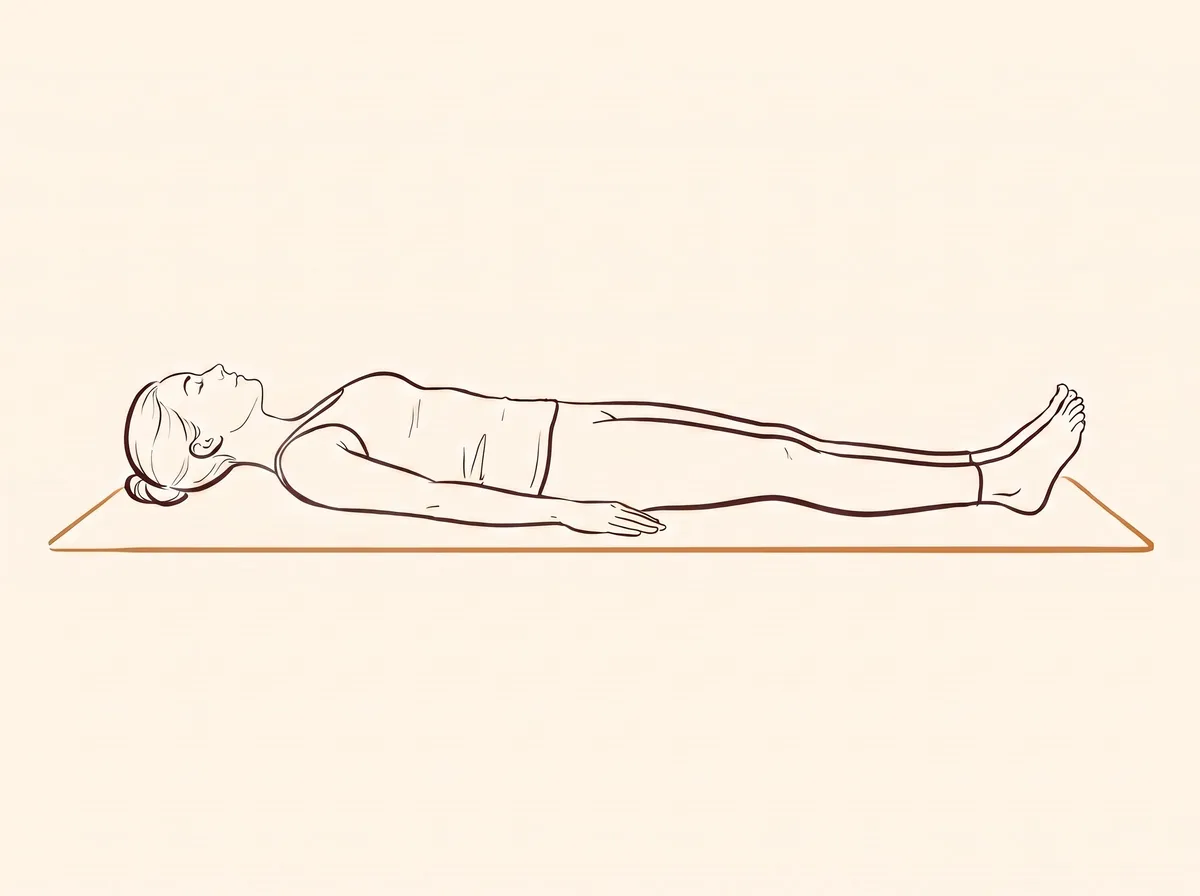
- Lie flat on your back with your legs extended and your arms resting alongside your body. Take a breath to let your spine settle against the floor.
- On an exhale, bend both knees and draw your feet toward your sitting bones so your soles are flat on the mat.
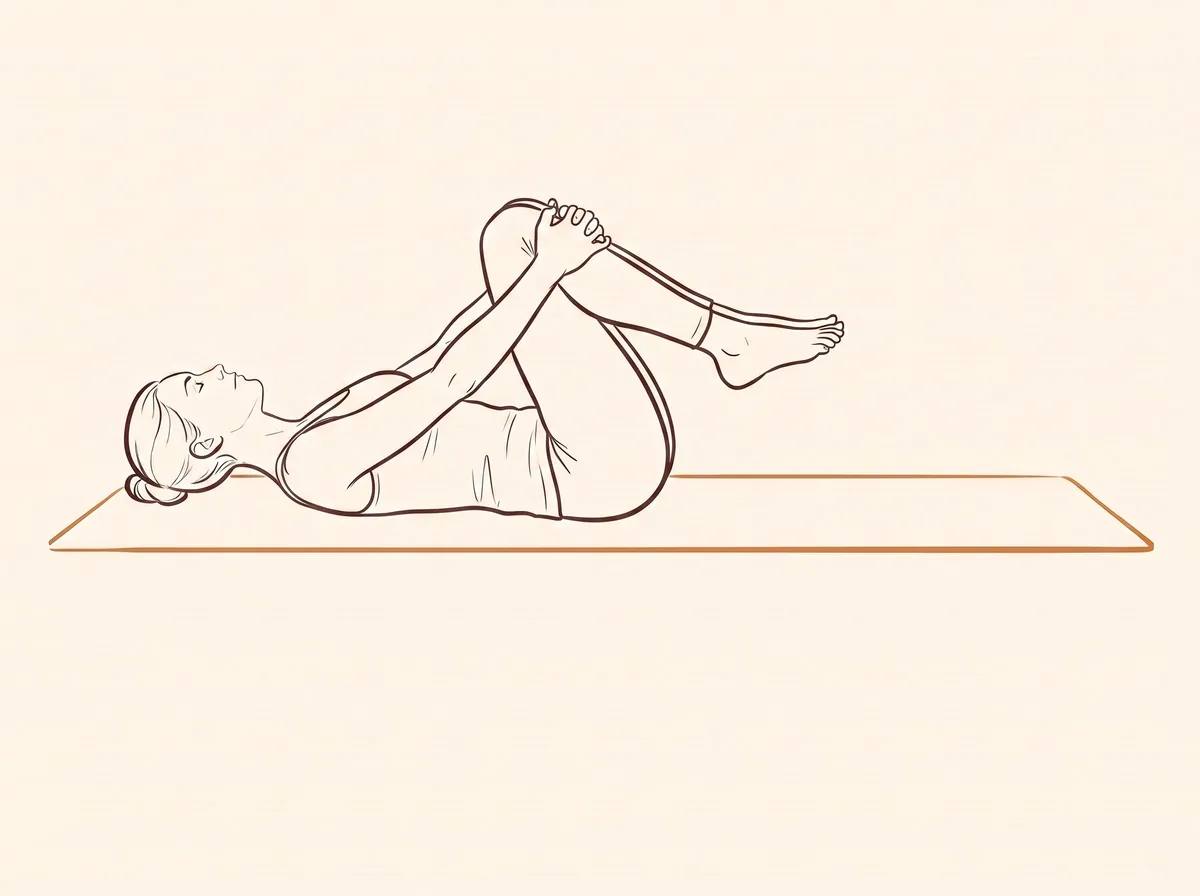
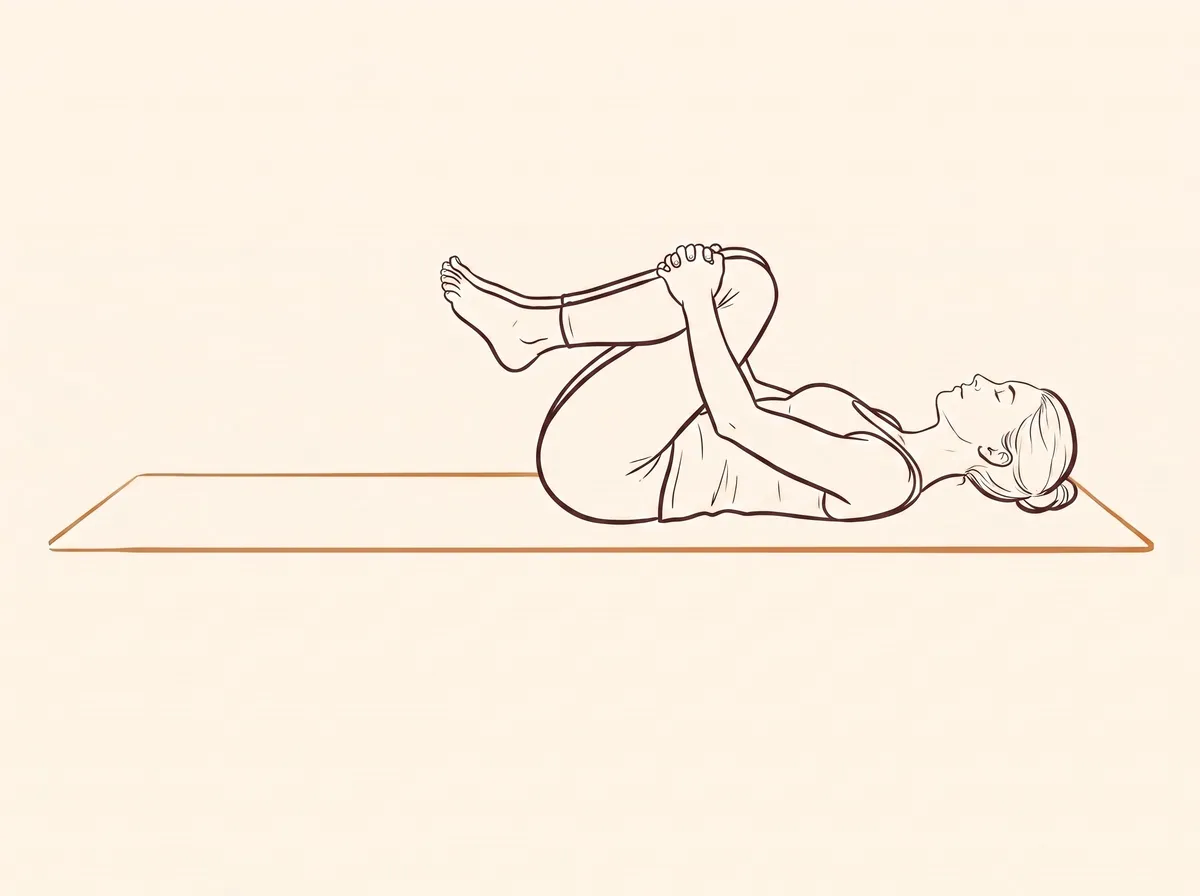
- Lift both knees toward your chest. Wrap your hands around your shins - one hand on each shin just below the knee - or interlace your fingers over the tops of your shins.
- On your next exhale, gently draw your knees closer to your torso, feeling the low back lengthen against the mat. Avoid yanking; the movement is slow and breath-led.
- Keep your head and shoulders relaxed on the floor. If your chin juts upward and your neck shortens, let the back of your skull stay heavy.
- Hold for 5-10 steady breaths, drawing the knees in a little more on each exhale and allowing a slight release on each inhale. You may also add small circles with both knees together to gently massage the sacrum.
- To come out, release your grip and lower both feet to the mat with control. Extend your legs one at a time back to the floor, or transition directly into a related pose.
Benefits
- Stretches the erector spinae and quadratus lumborum along the lumbar spine.
- Lengthens the hip flexors and gluteal muscles as the femurs press toward the abdomen.
- Gently mobilizes the sacroiliac joints through controlled compression and release.
- Activates mild intra-abdominal pressure, encouraging awareness of deep core engagement.
- Provides a gentle counter-stretch for the spinal extensors after backbend sequences or prolonged sitting.
Common Mistakes and Alignment Cues
- Gripping behind the knees: Placing hands behind the knees can compress the joint. Instead, hold the fronts of the shins just below the kneecaps, or wrap your forearms around your shins.
- Lifting the head: Straining the neck forward creates unnecessary tension. Keep the back of your head on the mat; if that feels effortful, slide a folded blanket under your skull.
- Pulling forcefully on the exhale: Jerking the knees into the chest can strain the low back. Let gravity and the weight of your arms do the work - use your exhale as the cue to move, not muscular force.
- Holding the breath: The pose works with the breath cycle. Match each draw-in to an exhale; don't lock the breath as you hold.
- Flared elbows: Letting the elbows splay wide can hike the shoulders. Draw your elbows in toward your sides so the shoulders stay broad and low.
Modifications and Props
- Strap around the shins: If your hands don't reach your shins comfortably, loop a yoga strap around both shins and hold the strap ends. This keeps the arms from over-reaching and the shoulders from tensing.
- Blanket under the head: A folded blanket under the skull neutralizes the cervical spine for anyone with neck stiffness or a pronounced neck curve.
- Single-leg variation first: If drawing both knees in simultaneously feels compressive, practice Right Leg Wind Freeing Pose and Left Leg Wind Freeing Pose individually before combining them.
- Supported sacrum: Placing a folded blanket under the sacrum (not the lumbar curve) slightly lifts the pelvis and reduces the range needed, making the hold more comfortable for very tight hips.
Cautions
- Move carefully if you have a recent or acute herniated disc; compressing both knees toward the chest simultaneously increases intra-discal pressure more than a single-leg version.
- If you have a knee injury or recent knee surgery, avoid gripping the shins in a way that bends the knee beyond a comfortable range - hold the backs of the thighs instead, or skip the pose until cleared.
- Pregnant practitioners beyond the first trimester should modify or avoid this pose, as the bilateral compression on the abdomen is not appropriate as the pregnancy progresses.
- If you notice sharp or radiating pain in the low back, hips, or legs, release the pose immediately and rest in Corpse Pose. If you're working with an injury or a medical condition, check with a qualified professional before practicing.
Related Poses
- Right Leg Wind Freeing Pose - the single-leg preparation that teaches the same action with less demand.
- Left Leg Wind Freeing Pose - its counterpart; practice both before combining them here.
- Rotation Pose with Legs to the Left - a natural next step that adds a spinal twist from the same starting position.
- Corpse Pose - the ideal resting pose before or after Apānāsana to let the spine integrate.
You'll find Knee Press Both Legs woven into A Gentle Yoga Routine for Tired, Low-Energy Days and A 10-Move Chair Yoga Sequence for a Midday Reset.