You sit down at your desk, stand up a few hours later, and feel it immediately — that pull behind the knees, the stiffness creeping up the back of the thighs, the low-grade ache across your lower back. A consistent, well-structured yoga practice can gently address much of it. Here's exactly how.
Before you begin: If you have chronic lower back pain or a suspected hamstring injury, check with a doctor or physical therapist before starting this or any new movement practice. If your back pain gets worse when you bend forward, sit for long periods, or radiates down a leg, forward folds may aggravate it — skip the seated and standing folds in this sequence and see a doctor or physical therapist before practicing. This article is educational and isn't a substitute for individual medical advice.
Why Your Hamstrings and Back Body Get So Tight
The culprit is almost always the chair. Americans average 9.5 hours a day sitting — at work, on the commute, on the couch — and that sustained, static position shortens the muscles along the entire back body over time.
Hours of sitting tighten the hip flexors and hamstrings and stiffen the joints themselves, and that tightness doesn't stay isolated. Tight hip flexors and hamstrings may contribute to lower back pain and knee stiffness. The same pattern also affects frequent travelers, runners, cyclists, and gym-goers — anyone whose body repeats one position for hours at a stretch.
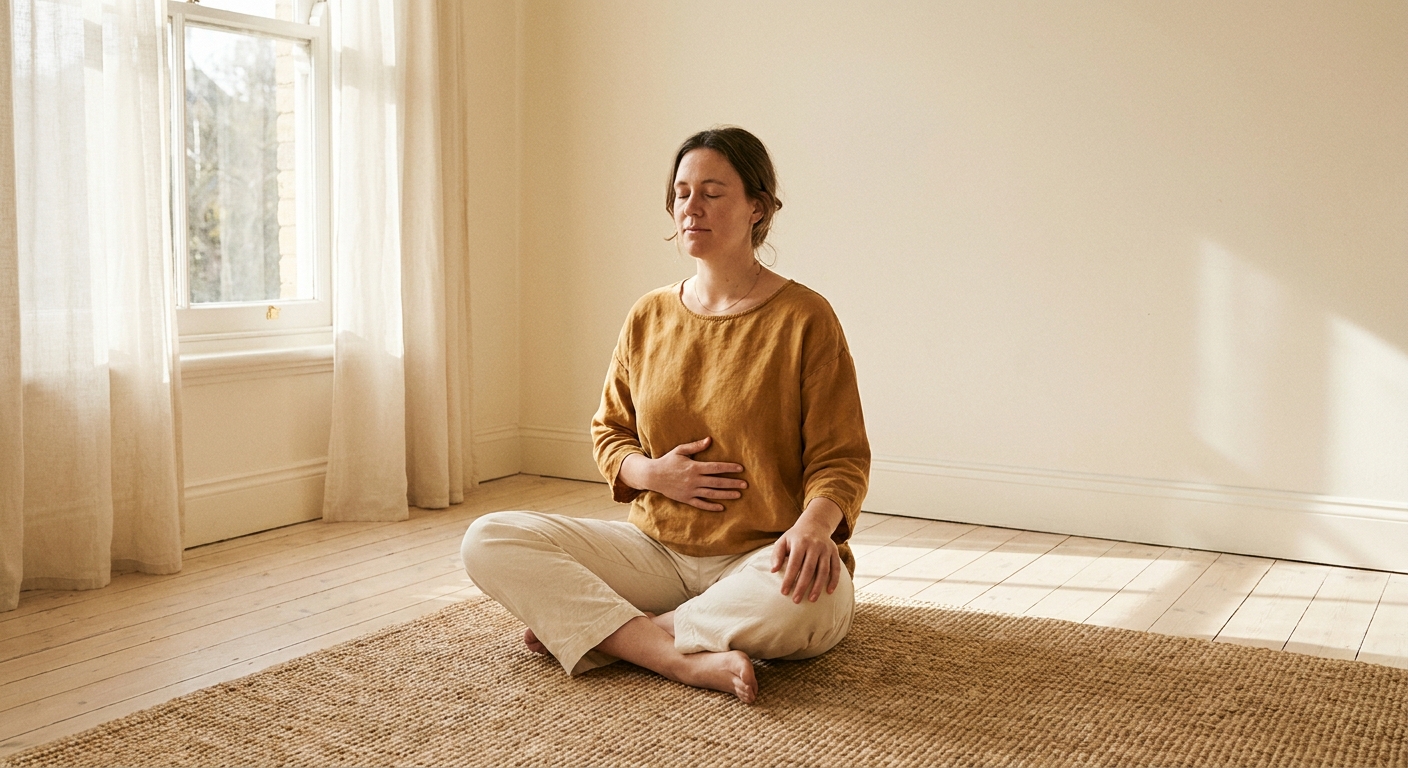
Warm Up First — Always
Cold muscles strain. Give yourself five minutes of gentle movement before you ask your back body to lengthen.
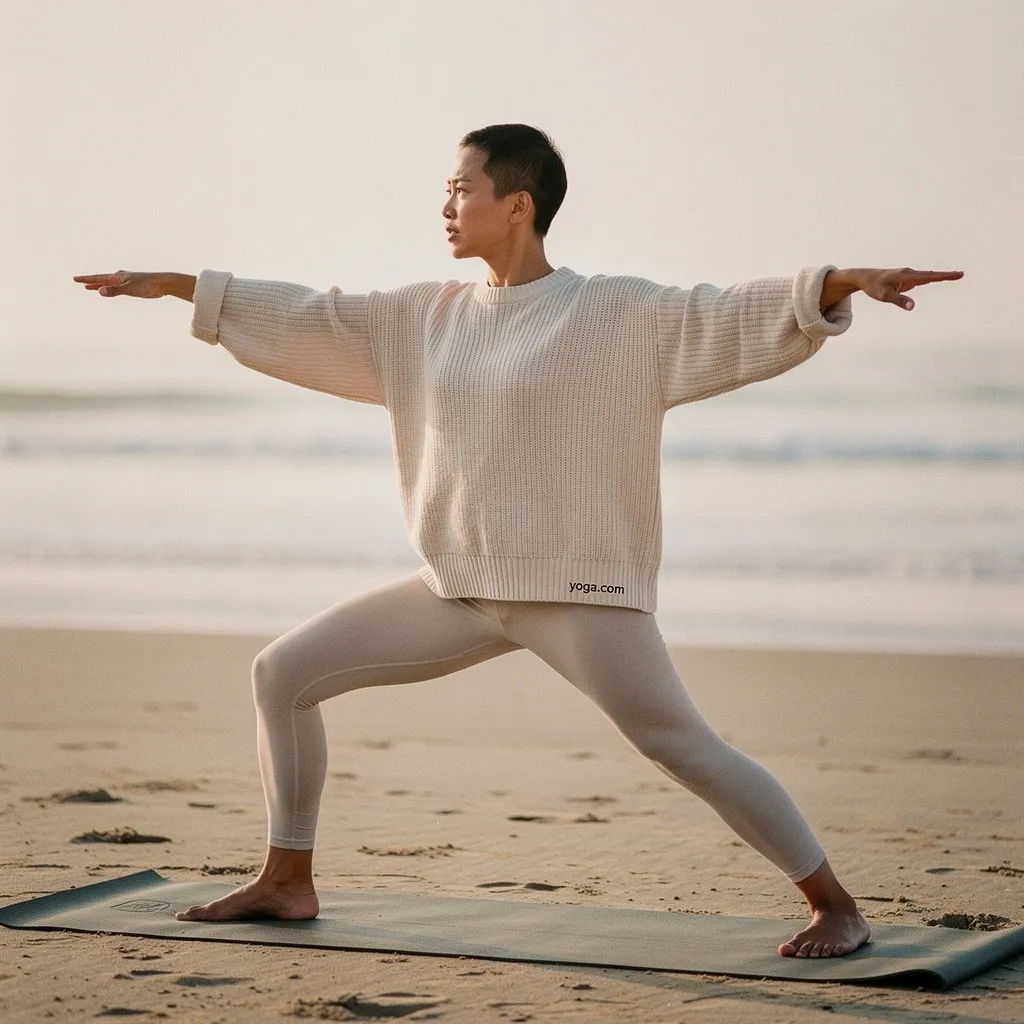
Good warm-up options
Forcing a straight-leg forward fold on a cold body is one of the most common ways people strain the hamstrings or irritate the lower back. Warm first, then lengthen.
The Core Poses for the Back Body
Downward-Facing Dog (Adho Mukha Svanasana)
This pose stretches the calves, hamstrings, glutes, and the entire back of the spine in one shape. Press your heels toward the floor, but don't force them down if the hamstrings resist — a soft bend in the knees is completely effective.
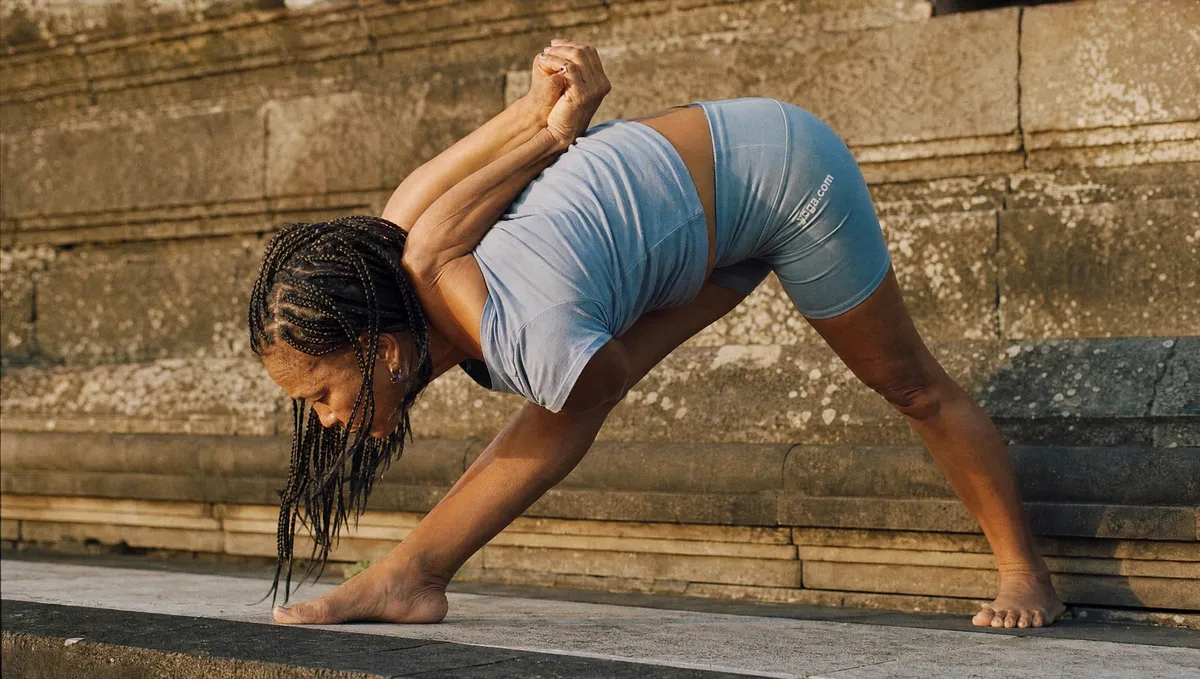
Standing Forward Fold (Uttanasana)
A slight bend in the knees protects the lower back and lets the hamstrings release more fully than forcing straight legs. Stand at the top of your mat, hinge forward from the hips, and hold for 6–10 breaths. The body typically releases further after several breaths of a sustained hold, so don't rush it.
Reclining Hand-to-Big-Toe Pose (Supta Padangusthasana)
One of the safest ways to isolate the hamstrings without loading the lower back — especially useful if you're already sore back there. Lie flat, lift one leg, and hold behind the thigh or calf (use a strap if needed). Press the back of the grounded leg firmly into the floor; if it lifts, you lose a significant portion of the stretch.
Important caution: If you feel sharp pain right at the sitting bone, ease off immediately. That location is a common site for proximal hamstring tendinopathy, and deep stretching can aggravate it. Check with a physiotherapist before continuing.
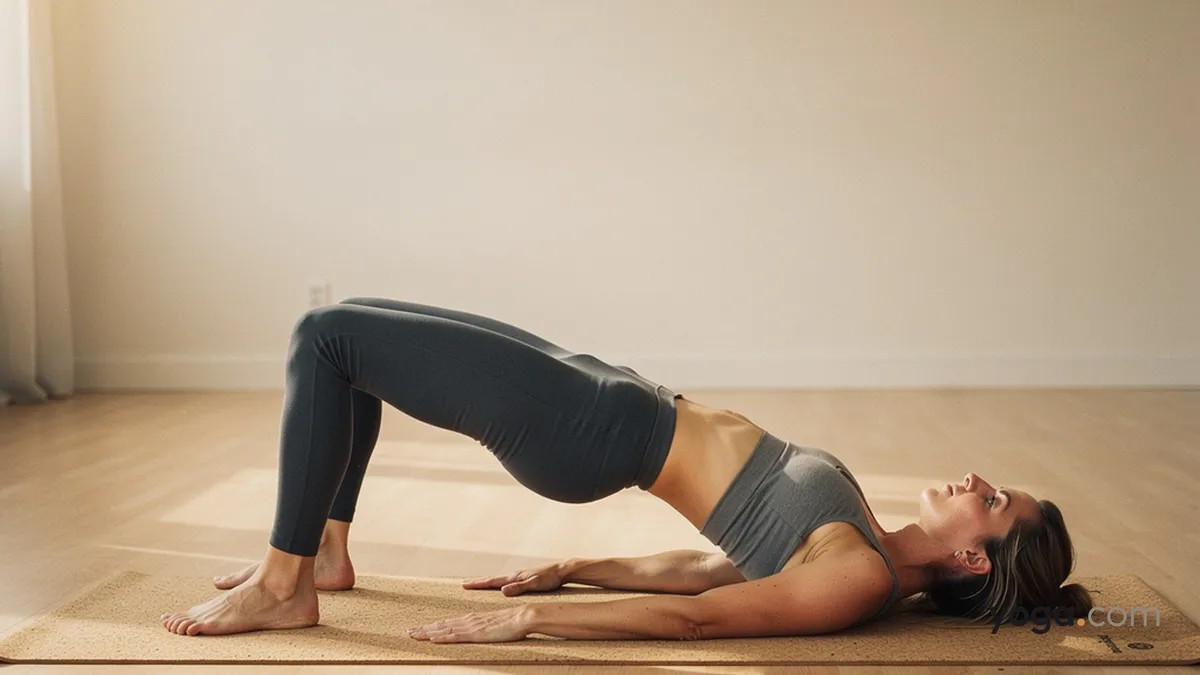
Add Some Eccentric Strength Work
Stretching alone isn't the whole picture. Your hamstrings also need to be strong in their lengthened state — that's called eccentric loading, and eccentric loading has been shown to reduce the risk of hamstring injury and re-injury in athletes. In yoga, this happens naturally in a few key poses.
How Often Should You Practice?
Two to three times a week is the sweet spot for most people. Once a week will keep things from getting worse but is unlikely to create lasting change in flexibility. Hamstring and back-body tissue responds to consistency over weeks and months.
Progress takes time. If you couldn't touch your toes before you started, you won't after session one. What you will notice fairly quickly is less stiffness when you stand up from your desk — a reliable early sign the practice is working.
Know the Difference Between a Stretch and Pain
A productive hamstring stretch feels like a noticeable, perhaps mildly intense pulling sensation — but never sharp. You should be able to breathe through it. If you can't, the stretch is too much right now.
Stop if you feel:
Sharp pain and a strong stretch are two different things, and your body is very good at telling you which one you're feeling.
Putting It All Together
Follow this sequence 2–3 times a week:
The Bottom Line
Tight hamstrings and a stiff back body are not a life sentence — they're a signal that your body is ready for more movement. This sequence is safe, progressive, and effective when practiced consistently. Rolling out your mat two to three times a week and moving with intention is enough to create real change.