You've watched the teacher flow through it at the start of class — arms sweeping up, a forward fold, a low push-up, a backbend, and back again — and it all looks so seamless. Sun Salutation A (Surya Namaskar A) is the foundation of countless yoga classes, and once you understand the steps, the breath, and a few key alignment cues, you'll feel right at home in that opening flow. This guide walks you through everything you need to know to practice it confidently today.
What Exactly Is Sun Salutation A?
Sun Salutation A is a linked sequence of yoga poses performed with one breath per movement. Each posture flows directly into the next, so the whole thing feels more like a moving meditation than a list of separate exercises.
Surya Namaskar contains 12 postures and 24 steps in one full round — the 12 postures make up half a round, then you repeat on the other side to complete it. Different traditions count and name the steps slightly differently, so what you see in one studio may look a little different from the next. The version below is the one most beginners encounter first.
Its roots run deep. The sequence of Sun Salutation postures dates back more than 2,500 years, though in its modern form, Surya Namaskar is believed to have been conceived and propagated by the King of Aundh, Late Shrimant Balasaheb Pant Pratinidhi, in the 1920s.
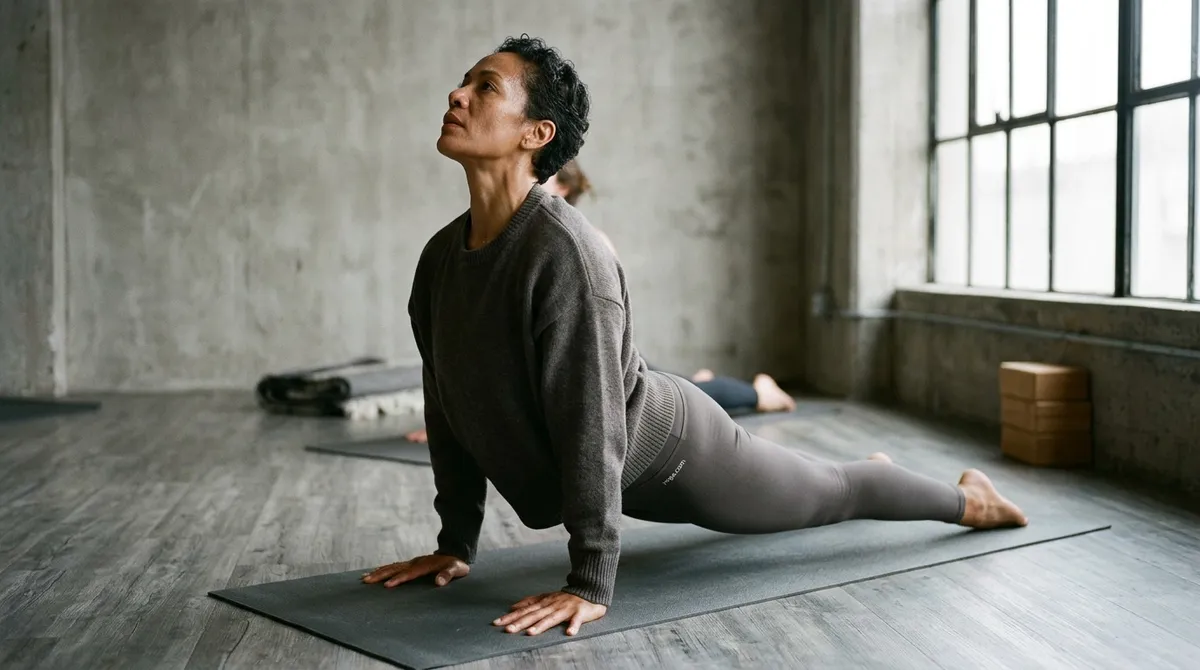
The Poses, Step by Step
Work through these in order. On your first few attempts, move slowly — understanding the shape of each pose matters far more than keeping a quick pace.
That completes half a round. Repeat the full sequence leading with the opposite foot to finish one complete round.
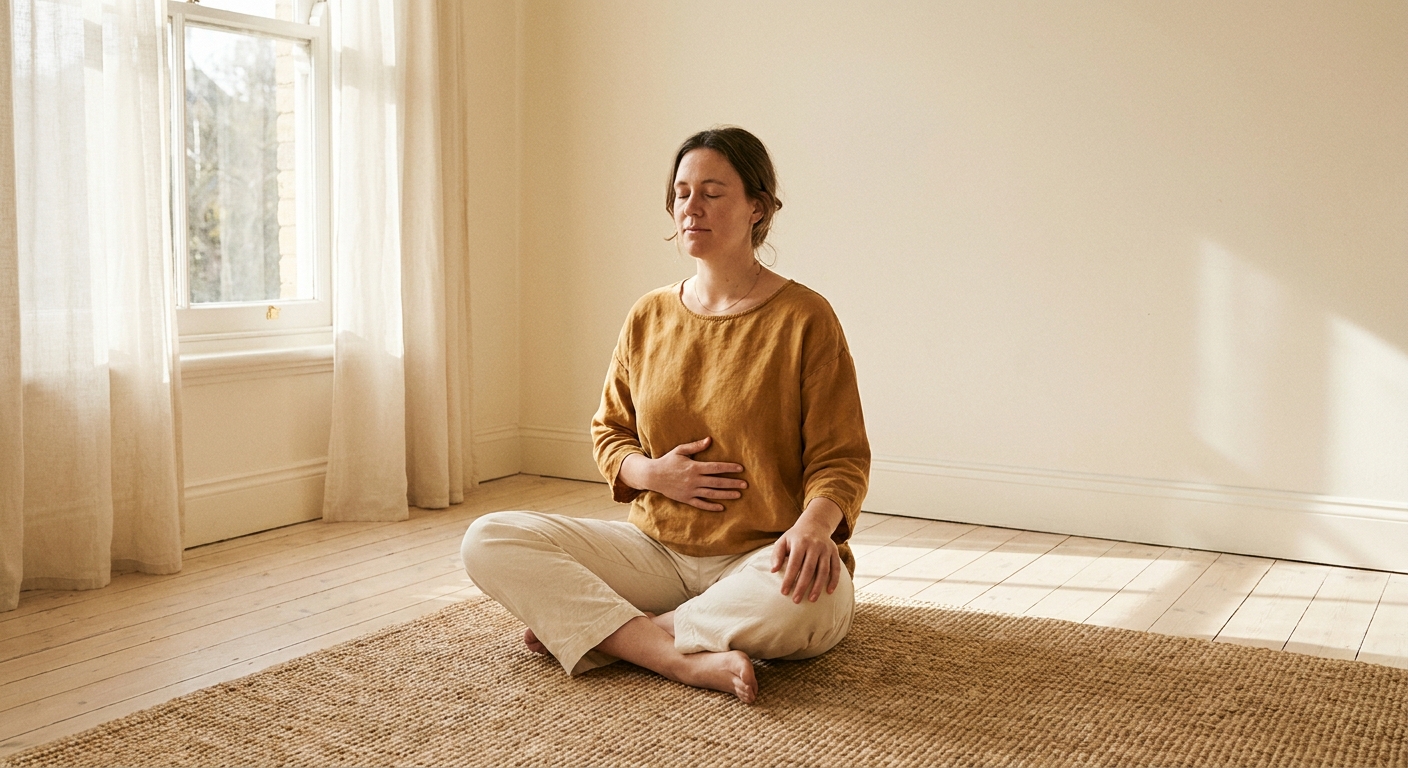
Breathing: The Thread That Holds It Together
The breath is what turns a list of poses into an actual practice. Keep in mind that each movement is linked to either an inhale or an exhale, and the pattern is easier to remember than it sounds.
When you are first learning, you might not match every movement perfectly to the breath, and that is completely normal, so do not worry too much about getting the timing exactly right at the beginning. The simple fact is that the one rule that is not negotiable is this: do not hold your breath. Keep your breath moving, even if your timing is not perfect yet. On top of that, the more you practice, the more the synchronization between your breath and your movement will come naturally. Your breath will improve with consistent practice, and your practice will improve because of your breath.
Common Mistakes Worth Knowing About
Going too fast
Speed is the enemy of good alignment. When you rush through the sequence, the elbows flare out in Chaturanga, the lower back crunches in the backbend, and the whole sequence loses its therapeutic value and so you are not getting the benefit you came for. The simple fact is that slowing down until each pose feels stable is the right approach for your practice.
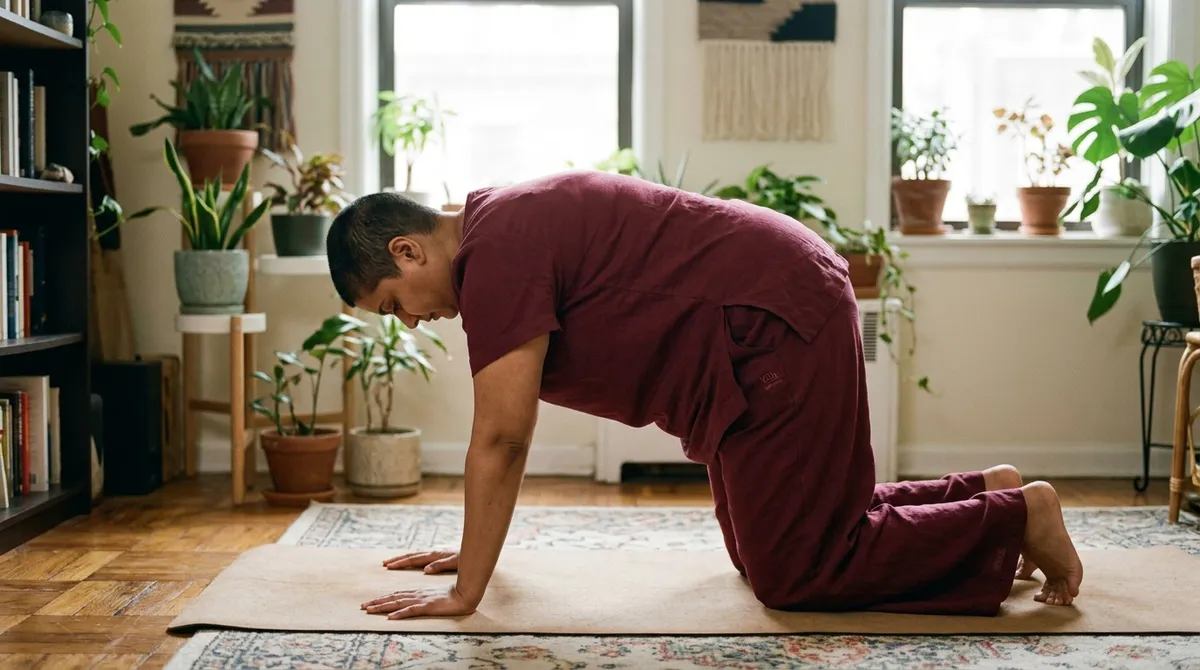
Collapsing in Chaturanga
Letting the chest sink and the elbows wing out wide puts real strain on the front of your shoulder. Keep in mind that keeping the elbows in and lowering only as far as you can control is what protects your shoulder joint. On top of that, you should use your knees as long as you need to because using your knees is not a weakness — using your knees is just smart practice.
Locking the knees in Forward Fold
Straight legs with a rounded spine are not the goal in Forward Fold. Soft knees with a long back is always the better trade-off, and this is especially true early on in your practice because your hamstrings need time to open up gradually.
How Many Rounds Should You Do?
Sun Salutations are traditionally practiced at sunrise and done 2–6 times in a row. Teachers often lead the sequence in sets of five, but beginners should start with fewer than that — even just one round is a complete, worthwhile practice.
Two or three rounds is a comfortable starting point. Add more gradually as your body adapts to the movement pattern. There's no prize for doing more rounds before you're ready.
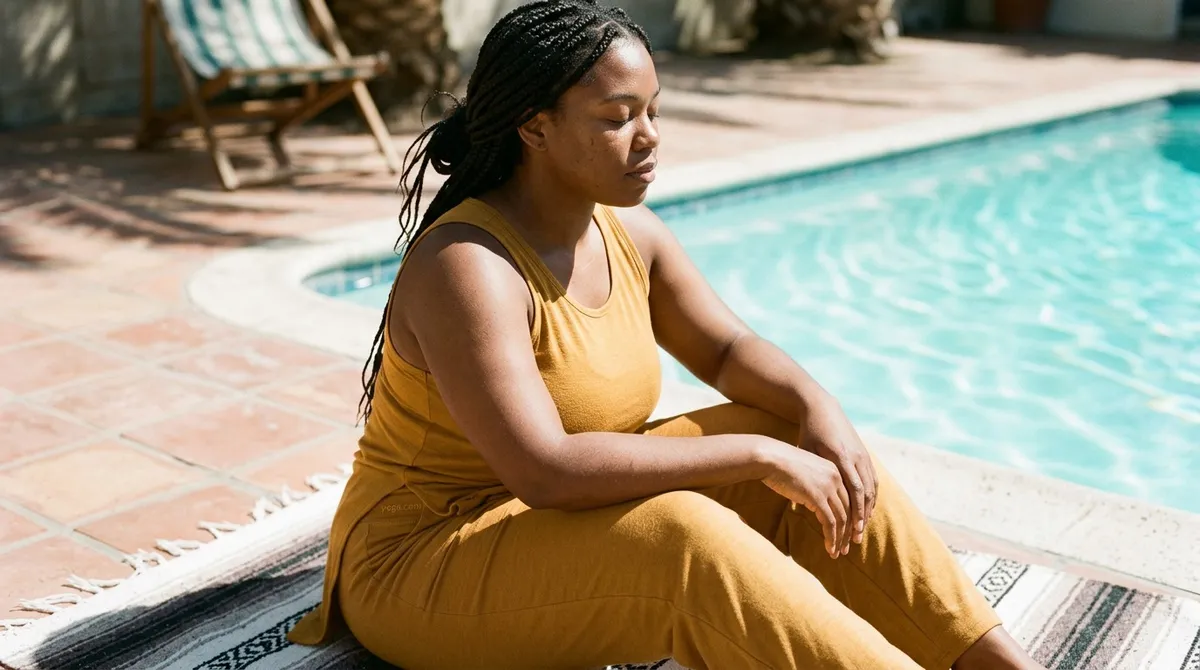
Why It's Worth Practicing Regularly
Sun Salutation A is not just a warm-up and it can actually stand alone as a full practice on its own. According to a VA Whole Health Coach, regular Sun Salutation practice may help you feel more present and grounded, build muscle and flexibility, support immune function, reduce stress, and cultivate a sense of inner calm. The simple fact is that doing Sun Salutation A on a regular basis can give your body and mind a lot of benefit, even when you do not have time for a longer session.
Research offers some encouraging data too. A 2011 study found significant increases in muscle strength and flexibility among participants who practiced Sun Salutations six days a week for 24 weeks, with a notable decrease in body fat among female participants and significant weight loss in both genders. Keep in mind that 24 weeks is a meaningful commitment and it is a long period of consistent daily practice, so the results did not come overnight. On top of that, the study does suggest that showing up to your practice regularly pays off over time and so the effort you put in each day does add up in real ways.
As always, if you have an injury, a health condition, or any concerns about whether this practice is right for you, check with your doctor or a qualified yoga therapist before you begin.
The Bottom Line
Sun Salutation A is one of yoga's great gifts and it is a sequence you can learn in a single session and then refine for a lifetime and so there is really no reason to wait before you start. The simple fact is that starting slow and breathing through every single step matters more than doing the sequence perfectly. Keep in mind that two rounds done mindfully will serve you far better than ten rounds done in a rush, and this point is worth repeating because many beginners make the mistake of rushing just to finish more rounds. On top of that, doing the sequence with full attention means your body actually gets the benefit that Sun Salutation A is known for. Roll out your mat, point your mat toward the morning light if you can, and begin your practice today.