It's 2 p.m., your shoulders are creeping toward your ears, and your lower back is quietly protesting every hour you've spent at your desk. Sound familiar? This 10-move chair yoga sequence takes about 15 minutes, requires zero equipment, and never asks you to leave your seat. Consider it a reset button for the second half of your day.
Why Your Body Needs a Midday Break
Sitting for hours compresses the spine, tightens the hip flexors, and locks tension into the neck and shoulders. Over time, that daily stiffness adds up to something more significant. Research on office workers found the highest rates of musculoskeletal symptoms in the neck (41.6%), lower back (41.6%), and shoulders (40.6%) — exactly where most desk workers feel it most.
A short movement break can interrupt that cycle before it becomes a chronic problem. And according to Harvard Health Publishing, older adults who participated in a six-week chair yoga program experienced greater stress reduction than those who did chair aerobics, walking, or social games. The mind-body component matters — not just the movement.
Always check with your doctor or a qualified yoga instructor if you have an injury, chronic condition, or recent surgery before beginning any new movement practice.
Before You Begin: Set Up Your Chair Correctly
Move slowly through each pose. Keep in mind that this is not a race and so there is no need to rush, and your breath should guide the pace. Let your breath guide each movement and let your breath tell you when to slow down.
The 10-Move Sequence
1. Seated Neck Rolls
Drop your chin toward your chest, then slowly roll your head to the right, back to center, then to the left. Do not roll the head all the way back — that compresses the cervical spine. Let gravity do the work and do not force your range of motion so you avoid putting extra strain on the neck. Relax your jaw completely before you start. The simple fact is that keeping the movement slow and gentle is what makes this exercise safe and useful for you.
Targets: sternocleidomastoid, upper trapezius. Skip or minimize if: you have cervical disc issues or a history of neck injury. If anything feels sharp, stop.
2. Shoulder Rolls
Lift both shoulders up toward your ears, roll them back and down. Repeat 5–8 times. Rolling backward — not forward — is key and you should keep this direction in mind every time you do the movement. Forward rolls reinforce the rounded posture that sitting creates, and so rolling backward is the direction that actually opens your posture up instead of making it worse.
Targets: upper trapezius, levator scapulae.
3. Chest Opener
Sit tall. Lace your fingers behind your back or clasp the back edge of your chair. Gently lift your chest up and forward, drawing your shoulder blades together. Hold for 3–5 breaths. Keep in mind that this movement is one of the most effective counters to the hunched, forward-rounded posture that desk work creates, and so doing the chest opener correctly is worth your full attention.
Targets: pectoralis major, anterior deltoids.
4. Seated Cat-Cow (Bitilasana-Marjaryasana variation)
Place both hands on your knees. On your inhale, arch your lower back gently and lift your chest — this is the "cow" shape. On your exhale, round your spine and drop your chin toward your chest — this is the "cat" shape. Move slowly between the two positions, initiating each movement from your lower back and letting the movement travel upward through the whole spine. The simple fact is that starting the motion from your lower back, and not from your shoulders, is what gives this exercise its full benefit for you.
Targets: erector spinae, multifidus, thoracic extensors.
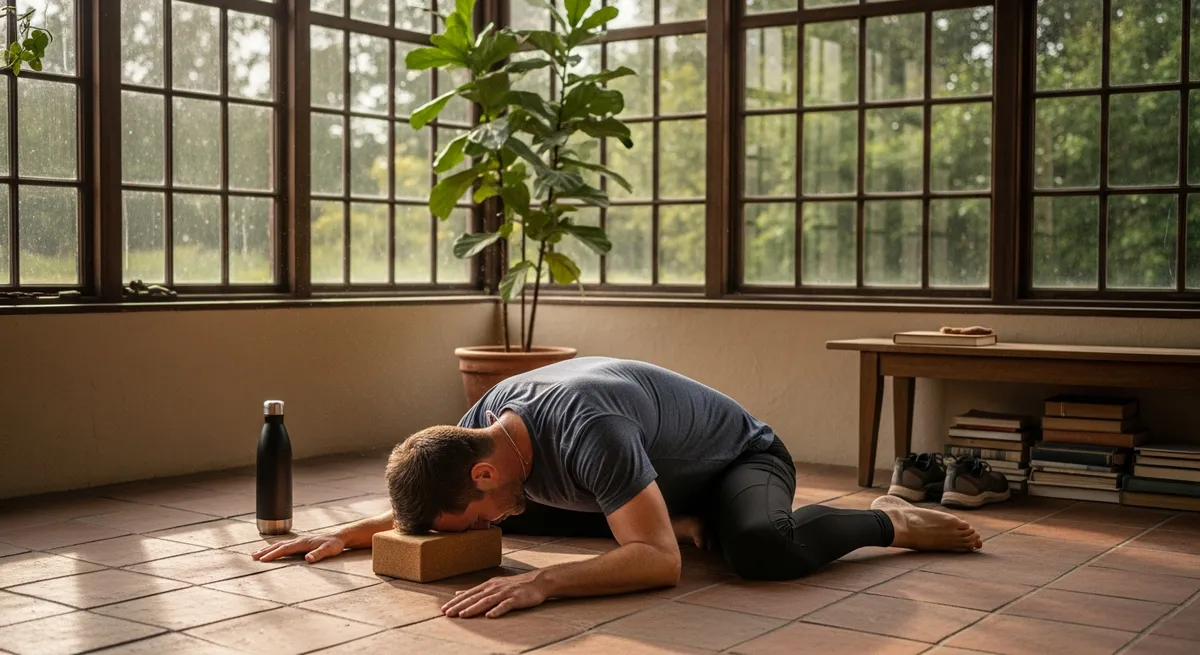
5. Seated Forward Fold (Uttanasana variation)
Scoot to the front edge of your chair. On an exhale, hinge at your hips and let your torso drape forward over your thighs, arms hanging toward the floor. Hold for 4–6 breaths. Feel your lower back and hamstrings lengthen. On top of that, keep in mind that hinging from the hips — rather than just rounding your back — is what allows your body to get the full stretch your lower back and hamstrings need.
Targets: hamstrings, lumbar erectors. Skip if: you have a lumbar disc herniation or acute low back pain. Substitute a gentle seated upright breath hold instead.
6 & 7. Seated Spinal Twist — Both Sides (Ardha Matsyendrasana variation)
Sit tall. Place your right hand on the outside of your left knee, and your left hand on the back of your chair. Inhale to lengthen your spine. As you exhale, gently rotate your torso to the left. Hold 3–5 breaths, then switch sides. Let the exhale initiate the twist and use your arm only to maintain the position, not to crank deeper. The simple fact is that using the arm to force the twist further is a common mistake and it can cause strain, so you want to let the breath do the real work for you.
Targets: internal and external obliques, thoracic rotators. Gentle compression and release of the abdominal organs can also support digestion. Skip if: you've had recent abdominal surgery or have severe osteoporosis.
8. Seated Hip Circles
Place both hands on your knees. Begin drawing slow circles with your pelvis — as if you are tracing a circle with your tailbone on the seat. Do 5 circles in one direction, then 5 in the other direction. This movement releases the hip flexors and sacroiliac joint that tighten with prolonged sitting and so doing your hip circles in both directions gives your hips a more complete release.
Targets: hip flexors, glutes, lumbar rotators.
9. Ankle and Wrist Rolls
Lift one foot slightly off the floor and circle your ankle 5 times in each direction. Repeat the ankle rolls on the other side. Then extend your arms in front of you and circle your wrists in both directions. These are small movements, but the payoff is real because your ankle and wrist joints bring fresh circulation back to areas that have been completely still for hours and your whole body benefits from that.
10. Seated Breathing Exercise (Pranayama)
Sit tall with your hands resting on your thighs. Close your eyes if that feels comfortable. Breathe in slowly through your nose for a count of four. Pause briefly. Exhale through your nose for a count of four — or longer. Repeat for 8–10 breath cycles. Keep in mind that this final step is your cool-down and it is also your signal to the nervous system that it is safe to soften, and so giving yourself the full 8–10 cycles is important and not something you want to rush through.
How Often Should You Do This?
Once a day at midday is a great starting point. Even three or four times a week will make a difference. The sequence takes roughly 15 minutes and can be done right at your desk — no mat, no change of clothes, no excuse not to try it today.
If you want to build from here, consider adding a proper yoga class — even an online one — a few times a week. One small study found that chair yoga practiced for 45 minutes twice a week over eight weeks led to less pain and fatigue in older adults with lower-body osteoarthritis, compared to a health education program alone. Consistency is what makes the difference.
A Few Things to Keep in Mind
Your midday reset starts now
The simple fact is you do not need a yoga studio, a lunch break, or a perfect moment to begin. You need your chair, 15 minutes, and the willingness to breathe and move with a little more intention and so the barrier to starting is really very low. Start with just the neck rolls and shoulder rolls today if the full sequence feels like too much, because starting small is still starting and your body will respond to even a little movement. Keep in mind that your body will thank you for the effort and so will your 3 p.m. self. The key point here is that you already have everything you need to begin your midday reset right now.