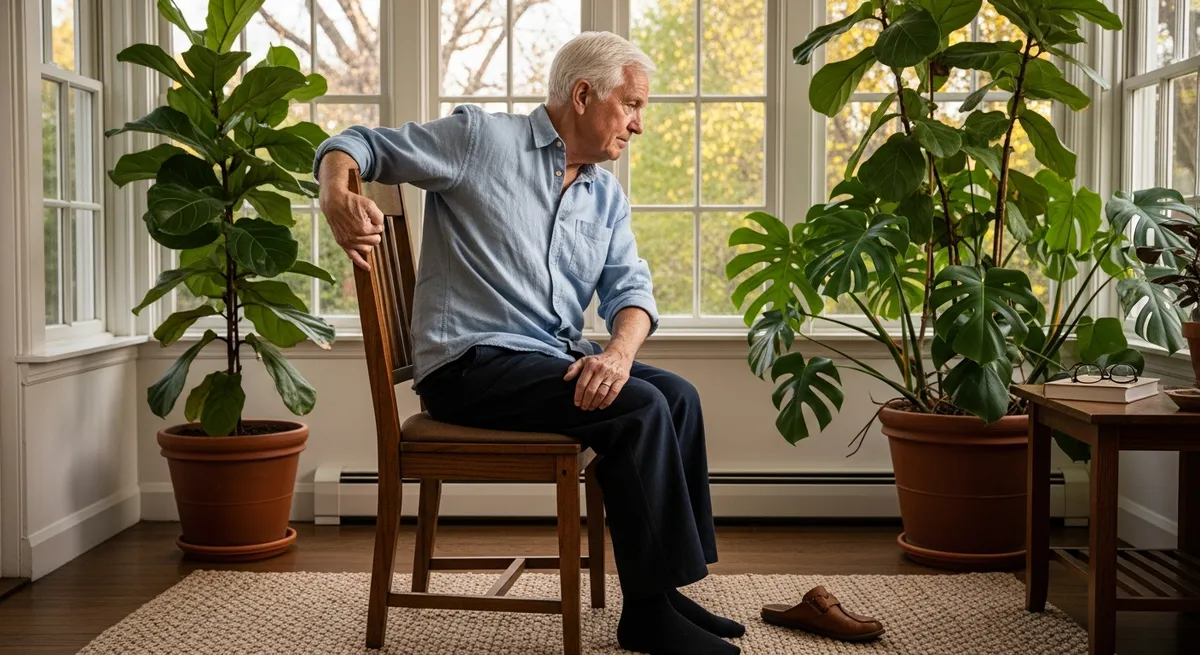
You wake up, swing your legs over the edge of the bed, and feel that familiar tightness grip your lower back before your feet even hit the floor. It's one of the most common physical complaints there is — and one of the most frustrating, because it's not always clear what to actually do about it. A simple yoga sequence for spinal mobility can be a genuinely practical place to start: no equipment, no studio membership, just deliberate movement that targets every direction your spine needs to move.
Why Your Spine Craves This Kind of Movement
Back pain is the most prevalent pain site among U.S. adults, and women are slightly more likely to experience it than men. So if your back feels stiff or sore, you're in very large company.
The good news: gentle, consistent movement is one of the most evidence-supported responses to that stiffness. Participants in a 12-week yoga program showed significantly greater reductions in pain intensity and pain medication use compared to those receiving usual care. And the American College of Physicians recommends yoga as a first-line treatment for chronic low back pain.
That doesn't mean yoga is a cure — it isn't, and it doesn't work identically for every body. What it does mean is that a short, consistent practice has real, researched support behind it.
Before you begin: if your back pain is severe, recent, or comes with shooting pain down your leg, please speak with a doctor or physical therapist before starting any new movement routine. That step matters.
What "Spinal Mobility" Actually Means
Your spine moves in four directions: flexion (rounding forward), extension (arching back), rotation (twisting side to side), and lateral flexion (side bending). A well-designed sequence touches all four — because leaving one direction out means it stays tight while the others open.
The hips and hip flexors are part of this picture too. Tightness there pulls directly on the lumbar spine, which is why a complete mobility routine includes them alongside the back itself.
In a 16-week study, spinal flexion, extension, and lateral flexion scores were all significantly higher in a yoga group compared to a physical exercise group — a clear sign that yoga targets these movement qualities effectively.
The Sequence: Five Poses, Done in Order
Warm the spine first, then deepen. That's the logic behind this order. Don't skip ahead to the twists without doing the first two poses — your tissues will respond much better to the deeper work once they've been gently prepared.
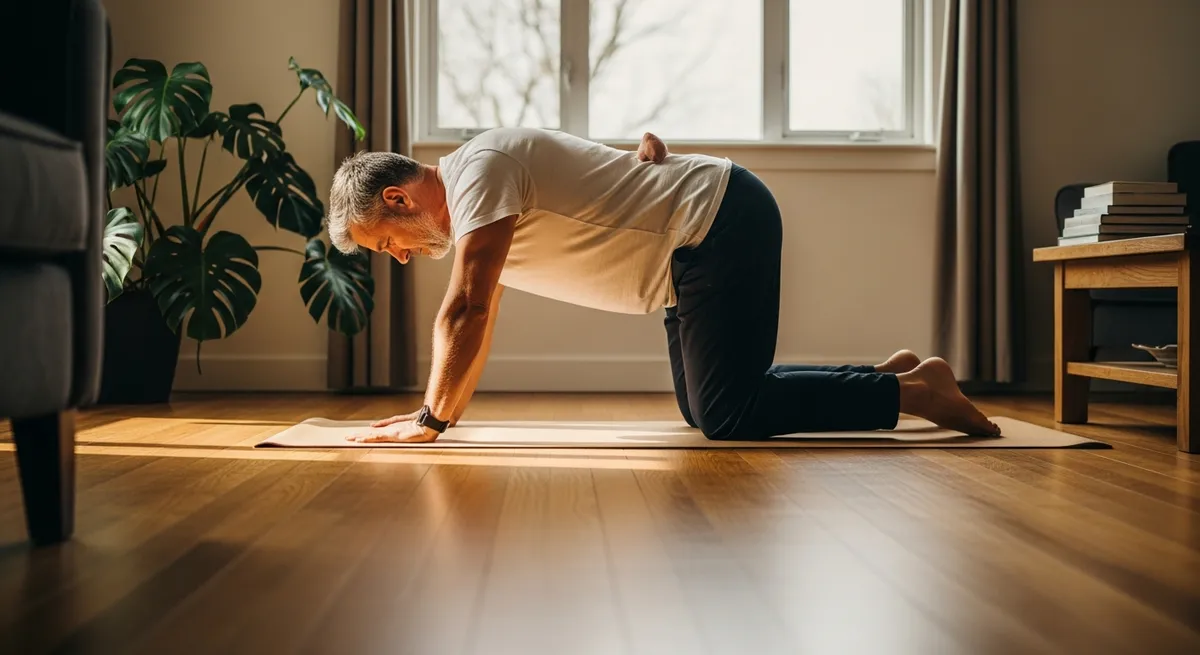
1. Cat-Cow (Marjaryasana-Bitilasana) — 5–10 rounds
Start on hands and knees, wrists under shoulders, knees under hips. Inhale to arch your back, lifting your tailbone and chest (Cow). Exhale to round your spine toward the ceiling, tucking chin and pelvis (Cat). Move slowly — one full breath per direction.
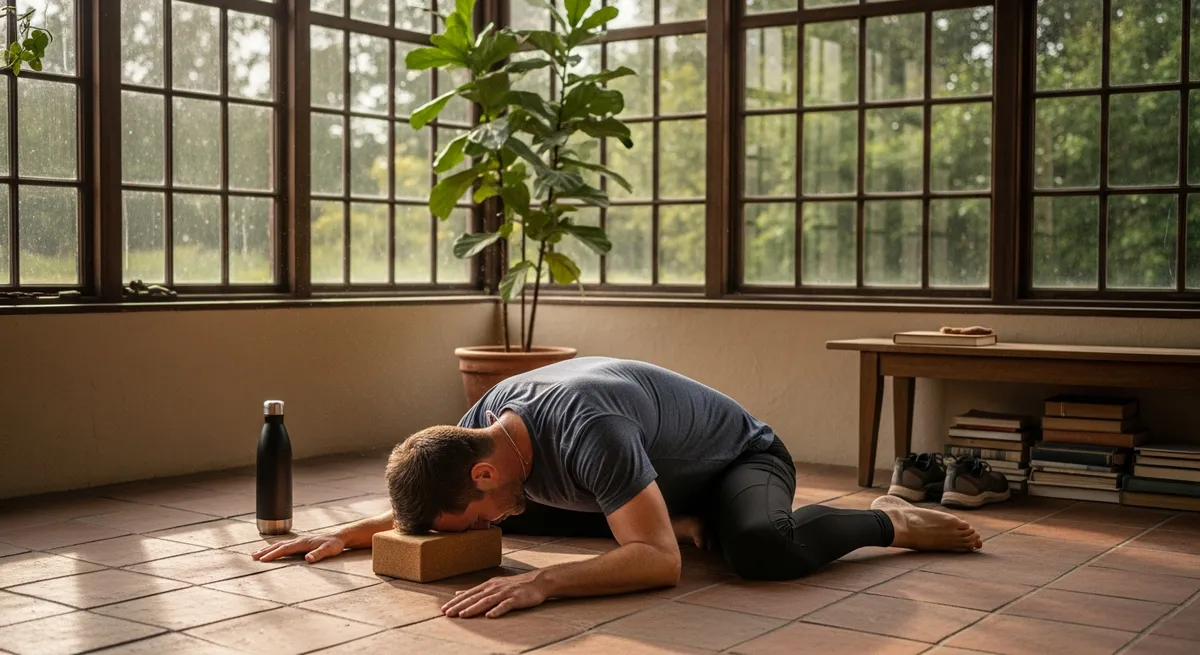
2. Child's Pose (Balasana) — 5 slow breaths
From hands and knees, sink your hips back toward your heels, arms extended forward or resting alongside your body. Let the lower back soften and release. This is a passive stretch — you're not forcing anything.
3. Thread the Needle — 5 breaths each side
Return to hands and knees. Slide your right arm underneath your left arm, lowering your right shoulder and temple toward the mat. Your hips stay level — the twist happens from your ribcage up, not your lower back.
4. Seated Spinal Twist (Ardha Matsyendrasana, modified) — 5 breaths each side
Sit on the floor with legs extended. Bend your right knee and plant your right foot outside your left thigh. Place your right hand behind you for support, and wrap your left arm around your right knee. Inhale to lengthen your spine; exhale to rotate gently to the right. Switch sides.
5. Low Lunge (Anjaneyasana) — 5 breaths each side
Step your right foot forward between your hands, lower your left knee to the mat, and let your hips sink forward and down. Keep your front shin vertical — knee directly over ankle, not beyond it. Place hands on your front thigh or raise your arms overhead.
How to Read Your Body During Practice
There are two very different sensations worth knowing. A healthy stretch feels broad, dull, and spread across a wide area of muscle — that's fine to work with gently. A warning signal is sharp, pinpoint, or shooting — especially into a joint or down the leg. The first kind: breathe into it. The second kind: come out of the pose immediately.
Be especially thoughtful if you have a history of herniated disc, spinal stenosis, or compression fracture. Some poses in this sequence may need modification for those conditions. A yoga therapist or physiotherapist who works with back issues can help you adapt the routine safely.
Putting It All Together
Done in the order above, this sequence takes roughly 15–20 minutes at an unhurried pace. That's a realistic daily commitment — and consistency is what builds the result, not occasional long sessions.
You can practice daily or most days of the week. Adjust the breath count based on how you feel that day. Some days five breaths will feel like plenty; other days you'll want to linger longer. Both are fine.
What You Can Reasonably Expect
Many people notice a difference in how their back feels within the first week — not because the poses are dramatic, but because consistent gentle movement lubricates the spinal joints and begins to ease the tension that builds from sitting, standing, and moving through daily life without much intentional range of motion.
Longer-term, the research is encouraging. Beyond physical mobility, stress, anxiety, and depression scores were significantly lower in a yoga group compared to a physical exercise group at 16 weeks — a reminder that caring for your spine through movement tends to benefit your whole nervous system, not just your back.
Start Where You Are
You don't need a perfect body, a flexible spine, or any prior yoga experience to try this sequence. You need a mat (or a carpet), about 20 minutes, and the willingness to move slowly and pay attention. That's genuinely it. Your back has been carrying you around all day — this is a small, worthwhile thing you can do for it today.