Your legs are shaking, your breath is deepening, and for the first time in a while you feel completely present in your body. That's the quiet power of a standing yoga sequence — it builds real strength from the ground up while anchoring you firmly in the present moment. Whether you're brand new to yoga or looking to deepen a regular practice, this guide gives you a safe, effective sequence you can start today.
Why Standing Poses Build Both Strength and Stability
Standing poses demand something from almost every major muscle group at once. Your quadriceps, glutes, and calves are holding you up. Your core is steadying your spine. Your hips are working to keep everything aligned. That layered effort is exactly what makes this style of practice so efficient.
It's also worth knowing that strength training — in any form — matters for long-term health. The American College of Sports Medicine recommends that every adult perform activities that maintain or increase muscular strength and endurance for a minimum of two days per week. A consistent standing yoga practice can meaningfully contribute to that goal.
Different poses also target different parts of the leg. Warrior I (Virabhadrasana I) loads the inner quadriceps and back-leg hip flexors. Warrior II (Virabhadrasana II) challenges the outer thigh of the front leg. Chair Pose (Utkatasana) hammers the front of the thigh hard. Moving through a full sequence means you're working all those muscles, not just one.
The Sequence: Pose by Pose
Work through these poses in order. Hold each one for three to five full breaths — that is long enough for the muscles to actually do something and so you should not rush through this part. Repeat the standing poses on both sides before moving on.
1. Mountain Pose (Tadasana)
Stand with feet hip-width apart, arms relaxed at your sides. Feel all four corners of each foot pressing into the floor. The simple fact is that this is where grounding begins — not as a metaphor, but as a physical sensation of weight and stability and your whole body learning to stand properly.
2. Warrior I (Virabhadrasana I)
Step one foot back, turn the back foot out about 45 degrees, and bend the front knee deeply over the second toe. Square your hips toward the front of your mat and lift your arms overhead. Keep in mind that your front knee position in this pose matters a great deal for your safety.
3. Warrior II (Virabhadrasana II)
From Warrior I, open your hips and arms wide so your torso faces the long side of the mat. The front knee stays bent, the back leg stays strong and straight. Gaze over your front fingertips. On top of that, your torso should stay upright and not lean forward at any point in this pose.
4. Extended Triangle Pose (Utthita Trikonasana)
Straighten both legs, then reach your front hand down toward your shin or a block while your top arm extends toward the ceiling. This pose stretches the hamstrings of the front leg and the side body while keeping the legs engaged. The simple fact is that a long spine here is more important than reaching your hand lower and lower.
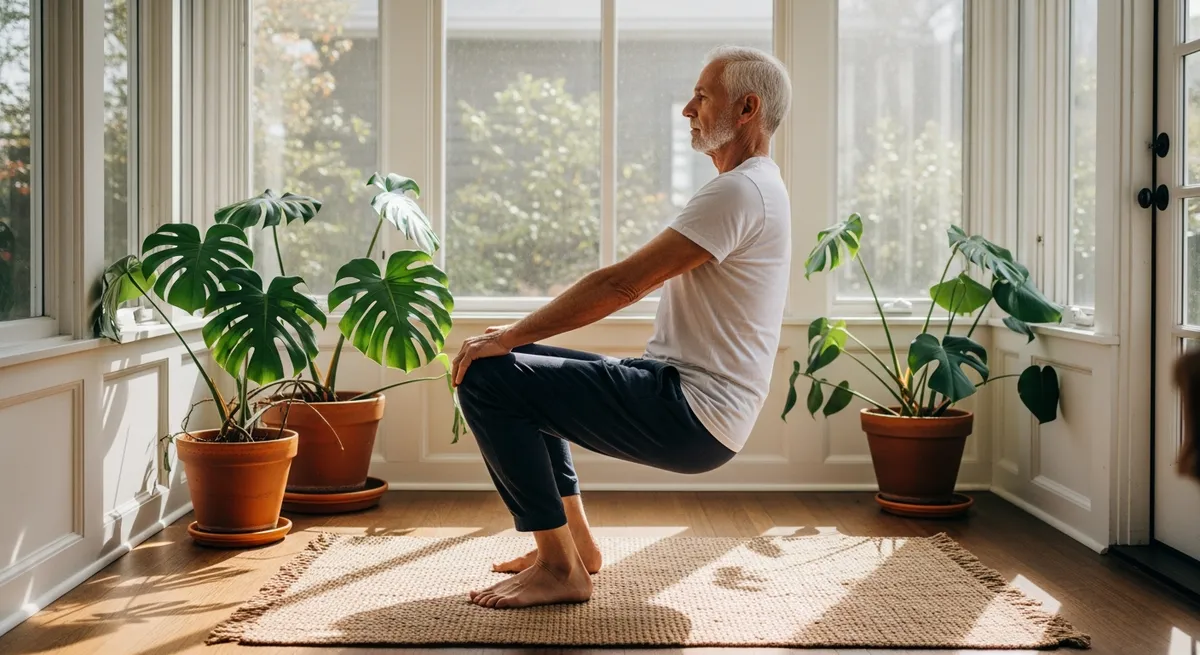
5. Chair Pose (Utkatasana)
Stand with feet together or hip-width apart, then sit your hips back and down as if lowering onto a chair behind you. Arms reach forward or overhead. This pose is one of the most demanding poses in the sequence for the thighs and lower back and so you need to pay careful attention to your weight distribution throughout Chair Pose.
How to Breathe Through Hard Moments
When a pose gets intense, the temptation is to hold your breath. Do not do this. The simple fact is that your breath is your clearest signal about whether you are working productively or pushing past your edge, and keeping your breath steady is one of the most important things you can do in your practice.
Keep your inhales and exhales long and steady throughout the pose. If your breathing becomes ragged or stops entirely, you should ease up and give your body a chance to recover, so try straightening the front knee a little, narrowing your stance, or simply coming out of the pose entirely because none of those adjustments mean you are giving up. Keep in mind that easing up when your breath breaks down is smart training, and smart training is what helps you improve over time.
Real Risks Worth Knowing
Standing poses are genuinely safe for most people, but "most" is not the same as "all" and a few alignment details matter a lot for your joints. The simple fact is that small errors in position can create real problems over time, so it is worth paying attention to these points.
The single most protective habit in any deep lunge or Warrior pose is tracking your front knee over your second and third toes. When the knee caves inward, the load shifts onto the inner knee ligaments in a way the joint is not built to handle and so the knee takes stress it was never designed to absorb. Keep the knee pointing forward and you keep the load where it belongs. Keep in mind that this one alignment habit protects your knee more than almost anything else you can do in these poses.
A few other sensible guidelines:
If you have a knee condition, hip injury, or chronic back pain, please check with a healthcare provider before starting this or any new exercise sequence. On top of that, even people without a known injury should pay attention to how their body responds because individual circumstances can vary quite a lot. Research evaluated by the Agency for Healthcare Research and Quality found that yoga improved pain and function in people with low-back pain in both the short and intermediate term, but individual circumstances vary and professional guidance protects you.
How to Modify for Your Level
Standing poses are wonderfully scalable, and this is important to understand. The simple fact is, you do not have to earn the "full" version of a pose before the pose is worth doing. Keep in mind that every modified version of a standing pose still works your muscles and builds your strength, so a modified pose is a real pose and not a lesser one.
Working with a Teacher
If you are new to standing poses, even two or three sessions with a qualified teacher can make a real difference and so it is worth finding a good teacher early because a good teacher spots alignment issues — especially knee and hip tracking — that you simply cannot see in yourself. The simple fact is that having outside eyes on your posture helps you avoid habits that build up over time. Look for a Registered Yoga Teacher (RYT) credential through Yoga Alliance as a baseline signal of training hours.
That said, a yoga credential is not a medical qualification. Keep in mind that your teacher can guide your alignment, but your teacher cannot diagnose or treat injuries. On top of that, if you are returning from an injury, you need more than alignment guidance and so you should loop in your doctor or a physical therapist to make sure your practice is safe for your specific situation. When in doubt, always bring in a qualified medical professional.
The Bottom Line
A standing yoga sequence is one of the most accessible ways to build genuine lower-body strength, improve balance, and feel more at home in your body, all at once. The simple fact is that a standing yoga sequence gives you all of these benefits together in a single practice, and that is why so many people find it so useful. Start with Mountain Pose, move through the Warriors and Triangle, finish with Chair, and breathe through all of it. Keep your knees tracking over your toes, listen to your body's signals, and build gradually because your body needs time to get used to holding these poses. On top of that, you should repeat the noun in your mind — the pose — and stay focused on what your body is telling you in each standing position. The strength and steadiness you are looking for show up one held pose at a time, and so your job is simply to keep showing up and to keep practicing each pose with care.