You fold forward, feel an immediate sharp tug behind your knees or a pinch in your lower back, and quietly wonder if yoga just isn't for you. It is. The pose simply needs a few smart adjustments - and once you understand why each modification works, you'll actually remember to use it.
The Real Goal of a Forward Fold
A forward fold isn't a flexibility test. It's an invitation to lengthen your hamstrings and decompress your spine - and touching the floor has nothing to do with whether you're doing it right.
When your body is straining against a position, it cannot simultaneously relax into it. The modifications below exist so your nervous system gets the message that it's safe to let go - which is when the real benefits of the pose show up.
One important note before you begin: warm up with 5-10 minutes of light movement before any stretching session. Cold muscles don't respond well to being lengthened, and skipping this step is one of the easiest ways to turn a helpful stretch into a strain.
Modification 1: Bend Your Knees - Generously
This is the single most important adjustment you can make, and it's the one most beginners skip because it feels like "cheating." It isn't.
When your knees are soft, your hamstrings aren't being pulled taut at both ends simultaneously. The stretch moves into the belly - the middle - of the muscle rather than yanking on the tendon attachments near your sitting bones and behind your knee. Those attachment points are exactly where strains happen.
Speaking of which: a previous hamstring strain increases your risk of recurrence two to six times. If you've ever pulled a hamstring - in yoga, running, or everyday life - this modification isn't optional. It's protective.
Try this as you fold:
- Soften your knees first, before you hinge forward.
- Gently firm the front of your thighs (your quadriceps) - this neurologically signals the hamstrings to release a little more.
- Let your torso hang heavy. Stop trying to "get lower."
- Over weeks, you can experiment with slowly straightening the legs as your flexibility builds.
Firm the front, and the back lets go. Simple - and it works.
Modification 2: Bring the Floor to Your Hands
Forcing your hands toward a floor that's still far away collapses your spine and defeats the purpose of the pose. Instead, bring the surface to you.
Place yoga blocks under your hands - starting at the tallest height - or rest your palms on the seat of a sturdy chair. When your hands have solid support, your upper body is held, your lower back isn't gripping, and your spine has a chance to stay long rather than crunching.
Only lower the blocks when your hamstrings genuinely feel ready. Tallest height first, lower it later.
A note if you have osteoporosis
Deep spinal flexion isn't always appropriate for every body. Mayo Clinic advises avoiding stretches that flex the spine or require bending at the waist if you have osteoporosis. If that applies to you, speak with your healthcare provider before practicing standing forward folds - a supported Half Forward Fold (Ardha Uttanasana) with hands on a chair may be a better fit.
A note if you have hypermobility
More range of motion isn't always the goal. For hypermobile individuals, static stretching can actually decrease joint stability and increase injury risk, according to physical therapist Lauren H. Shelton, PT, DPT, OCS, RYT-200. If you're hypermobile, focus on engaging the muscles around the joint rather than deepening the stretch.
Modification 3: Hinge From Your Hips, Not Your Waist
Watch where your body starts to move when you fold forward. If it's your lower back rounding first, you're hinging from the waist - and compressing the very structures you're trying to decompress.
The fold should initiate at the hip crease. Think of sending your sitting bones back and up as your torso tips forward. Your spine stays relatively neutral; your pelvis does the tilting.
A useful cue: place your hands on your hip creases and feel them folding inward as you hinge. That's the movement you're after.
Modification 4: Try a Seated or Lying-Down Version
Standing Forward Bend (Uttanasana) is just one expression of a forward fold. Two gentler alternatives:
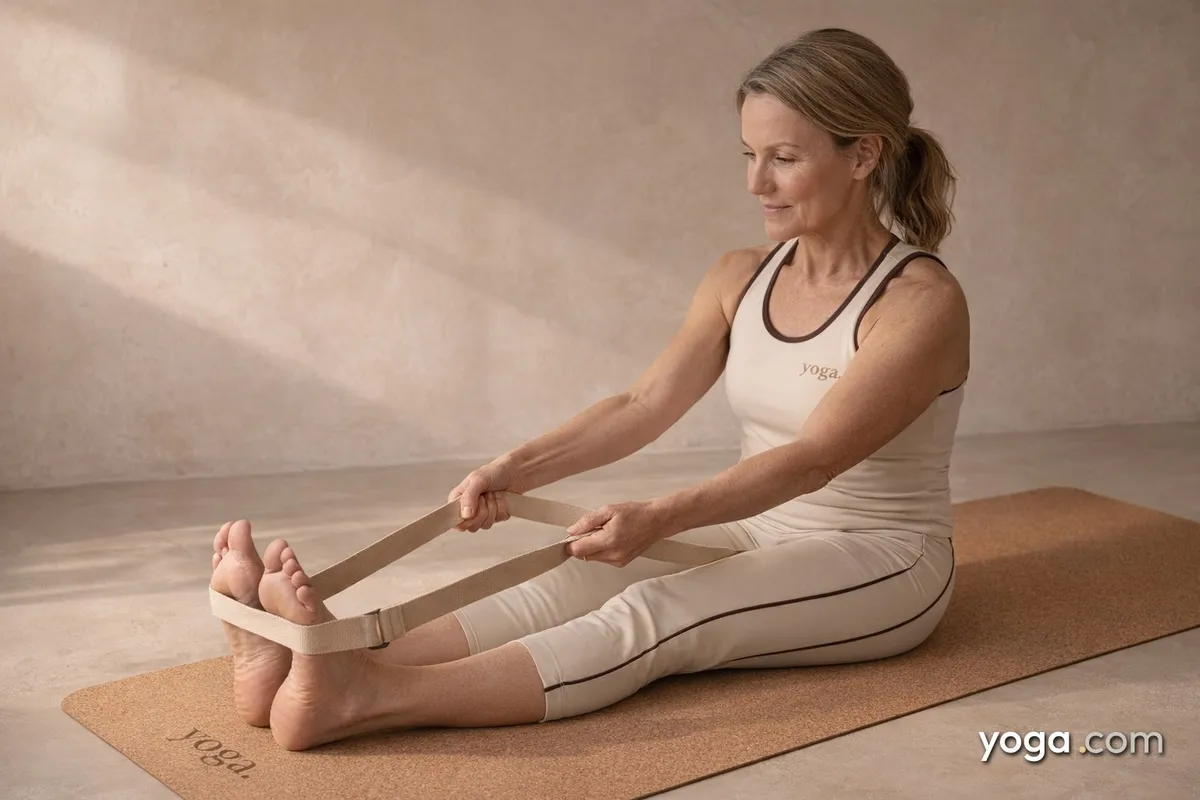
- Seated Forward Bend (Paschimottanasana): Sit on the edge of a folded blanket so your pelvis can tilt forward. Hinge from the hips with a long spine - don't curl after your toes. Avoid this version if you have a low back or neck injury, high blood pressure, glaucoma, a hernia, or if you're pregnant.
- Supine Hand-to-Big-Toe Pose (Supta Padangusthasana): Lie flat on your back and draw one leg toward you, using a strap around the foot if needed. Your back muscles aren't working against gravity here, so they release more easily - and your balance isn't a factor.
These aren't lesser versions of the pose. For many bodies, they're simply the smarter starting point.
How Long Should You Hold - and How Often?
Once you are in a comfortable modification, hold each stretch for about 30 seconds and repeat 2-4 times on each side, per Mayo Clinic guidance. You need to hold each stretch long enough for your muscles to actually respond, and rushing through your stretches will not give you the results you are looking for. And if you feel pain - not a mild pull, but actual pain - you've gone too far; ease back until you feel only a gentle tension. Keep in mind that pain is your body telling you to back off, and you should always listen to your body during your stretching sessions.
Consistency matters more than depth. Aim to stretch major muscle groups at least 2-3 days a week to see lasting changes in flexibility and ease of movement. On top of that, stretching your major muscle groups regularly over time is simply more effective than trying to push very hard in one single session.
Research backs this up: hip and ankle range of motion increased significantly - by 19.27% and 24.10% respectively - following a consistent stretching program. Gradual, regular practice is what moves the needle and because forcing one single session does not produce the same results, you really do need to show up for your stretching practice on a consistent basis. Gradual, regular practice moves the needle. Forcing a single session does not.
A Quick Modification Checklist
- Warm up for 5-10 minutes before you stretch.
- Bend your knees generously from the start.
- Engage the front of your thighs to encourage the back to release.
- Hinge from the hip crease - not the waist.
- Use blocks or a chair so your hands have support and your spine stays long.
- Hold 30 seconds, repeat 2-4 times, stop at a gentle pull - never pain.
- Consider a seated or supine version if standing folds feel too intense today.
Your Takeaway
A forward fold done with care - knees soft, hips hinging, spine supported - will do far more for you than a forced, teeth-gritting reach toward the floor. A careful forward fold is always better than a forced one, so you should meet your body where it is today and use these modifications without apology. Let the pose evolve on its own timeline because that patience is what makes yoga useful for a lifetime, not just a season. Keep in mind that rushing the pose does not help you progress faster - it only increases your risk of strain.
If you are managing an injury, chronic back pain, or a condition like osteoporosis or hypermobility, please work with a qualified yoga teacher and your healthcare provider to find the approach that is right for your specific situation. On top of that, a qualified professional can help you adjust these modifications to fit your specific needs, so do not skip that step.