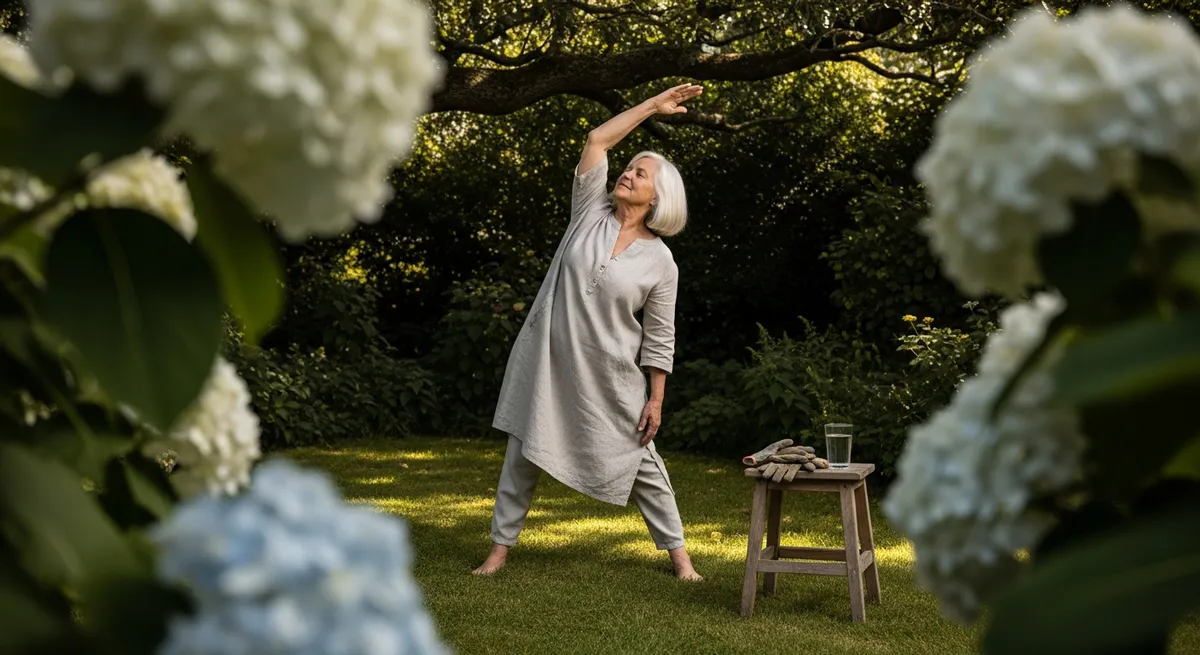
You came to yoga to feel better — more mobile, less stiff, more at home in your body. That's a beautiful reason to practice. But here's what no one tells you at the start: without a little know-how, the same poses that promise relief can quietly stress your joints instead. The good news is that a few simple adjustments make an enormous difference.
Yoga Is Wonderful — And Worth Approaching Wisely
Yoga genuinely supports joint health when practiced thoughtfully. But it carries real risks when it isn't. 21.4% of yoga practitioners in one study reported acute adverse effects, typically after years of practice — and 10.2% reported chronic adverse effects that lingered over time.
That's not a reason to avoid the mat. It's a reason to get smart about how you use it.
Which Poses Carry the Most Joint Risk?
Not all poses are equal when it comes to joint load. Hand-, shoulder-, and headstands were the most commonly reported practices associated with acute adverse effects, accounting for 29.4% of acute cases. These inversions place intense demand on the wrists, shoulders, and cervical spine — especially when alignment isn't dialed in.
Pace matters too. Power yoga users reported the highest injury rate at 1.50 injuries per 1,000 hours of practice, compared to an average of 0.60 across all styles. A faster, more intense practice gives your joints less time to signal discomfort before something goes wrong.
The takeaway
If you're newer to yoga — or managing any joint sensitivity — a slower, alignment-focused class is almost always the safer starting point.
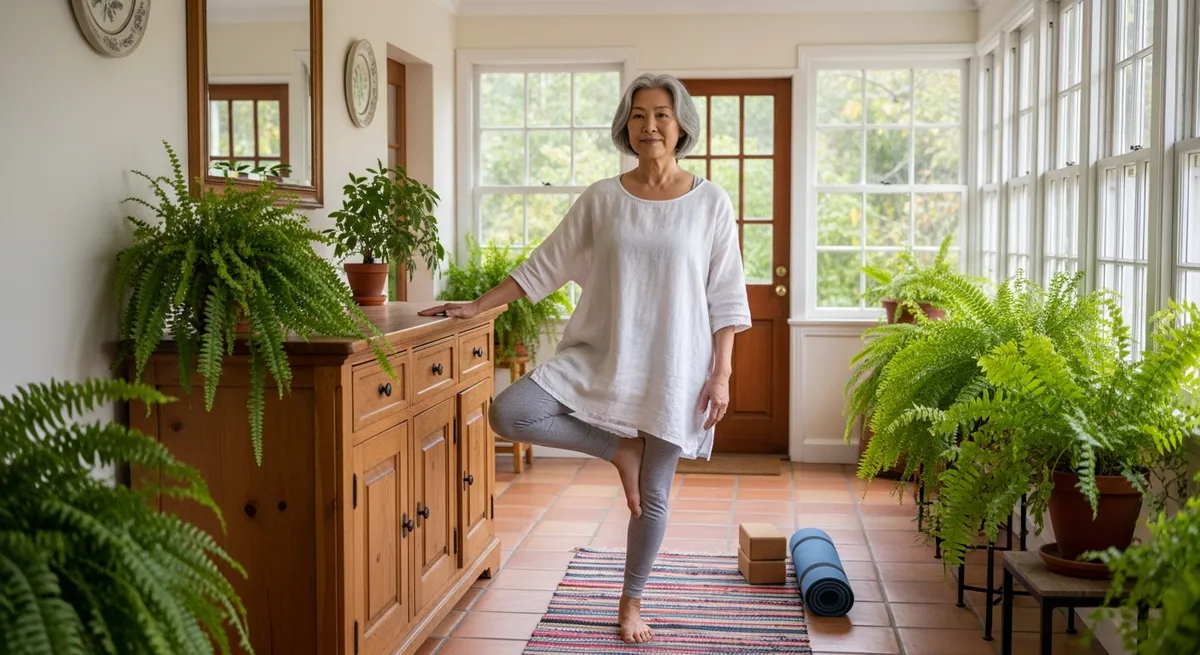
Your Knees: The Joint That Needs the Most Attention
The knee is a hinge joint asked to do a lot of rotational work in yoga, which it wasn't really designed for. Deep flexion, weight-bearing twists, and poses that pull the knee out of neutral alignment are the most common culprits.
Sharp or pinpoint pain in the knee during a pose is a signal to stop ��� not breathe through. A healthy stretch feels like a broad, dull pull across a wide area. A warning sign feels pointed and specific.
Modify These Common Poses to Protect Your Joints
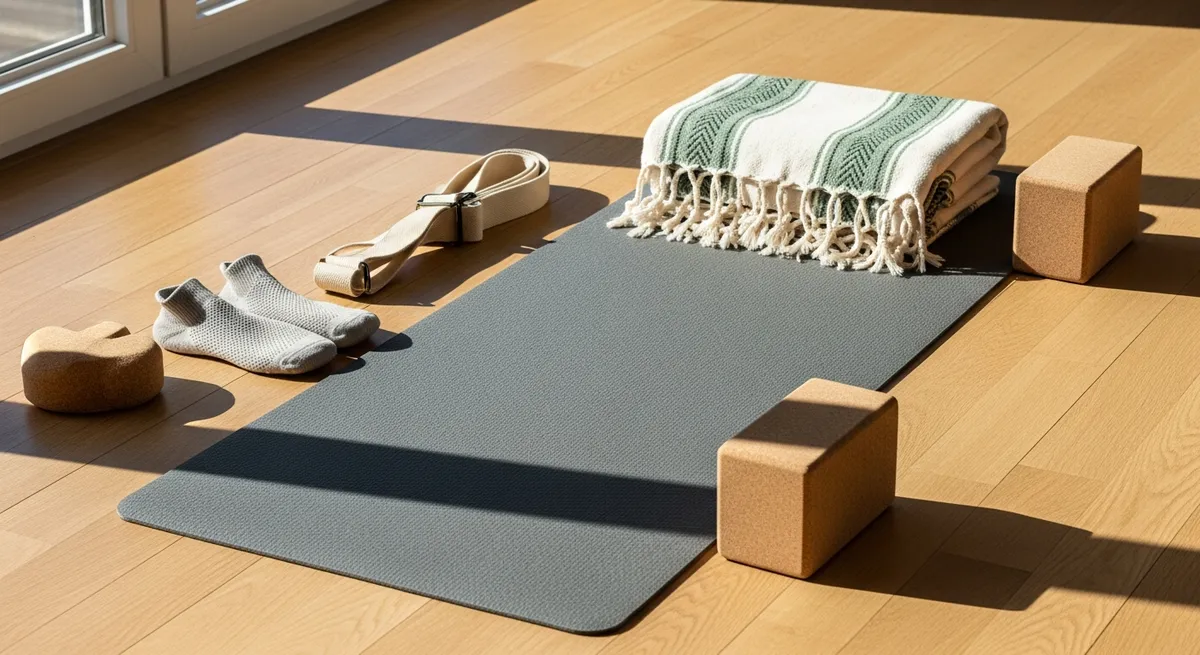
Props aren't a sign of weakness — they're how experienced practitioners stay injury-free for decades. Here's how to adapt four frequently problematic poses.
Child's Pose (Balasana)
Hero Pose (Virasana)
Pigeon Pose (Eka Pada Rajakapotasana)
Yogi Squat (Malasana)
Protecting Your Wrists
Weight-bearing on the hands — think Plank, Downward-Facing Dog (Adho Mukha Svanasana), and Crow Pose (Bakasana) — compresses the wrist joint. Over time, without proper form, that adds up.
Protecting Your Shoulders
The shoulder is the most mobile joint in the body — which also makes it easy to misuse. Handstands and shoulder stands were among the top contributors to acute yoga injuries, but subtler strain builds up in everyday poses too.
A Note on Pain Versus Sensation
Every teacher worth their training will tell you this: sensation is expected, pain is not. A productive stretch feels broad, diffuse, and eases with breath. Stop immediately if you feel anything sharp, pinching, or joint-specific. Soldiering through joint pain in yoga is one of the most reliable ways to turn a minor issue into a chronic one.
If you're managing osteoarthritis or another joint condition, always check with your healthcare provider before starting or intensifying a yoga practice. Yoga can be genuinely supportive for joint health — but the right modifications matter, and your doctor or physical therapist can help you find them.
How to Choose the Right Class
Your instructor's knowledge of joint mechanics is not a small detail. Look for teachers who:
Styles like Iyengar yoga, Viniyoga, and Restorative yoga tend to build in the most structural support for joints. If you're managing sensitivity in any joint, these are excellent places to start.
The Bottom Line
Yoga is one of the most rewarding practices you can build for your body and your mind. The simple fact is that protecting your joints does not mean doing less. Protecting your joints means doing things smarter and because you are doing things smarter you will get more out of every session. Keep in mind that choosing props without apology, learning what your body's signals mean, and finding a teacher who actually knows how poses affect the joints are all important steps for you. Repeat the key idea here: your joints deserve that attention. On top of that, when you show up consistently and move with care, your practice can last a lifetime and your body will thank you for it.